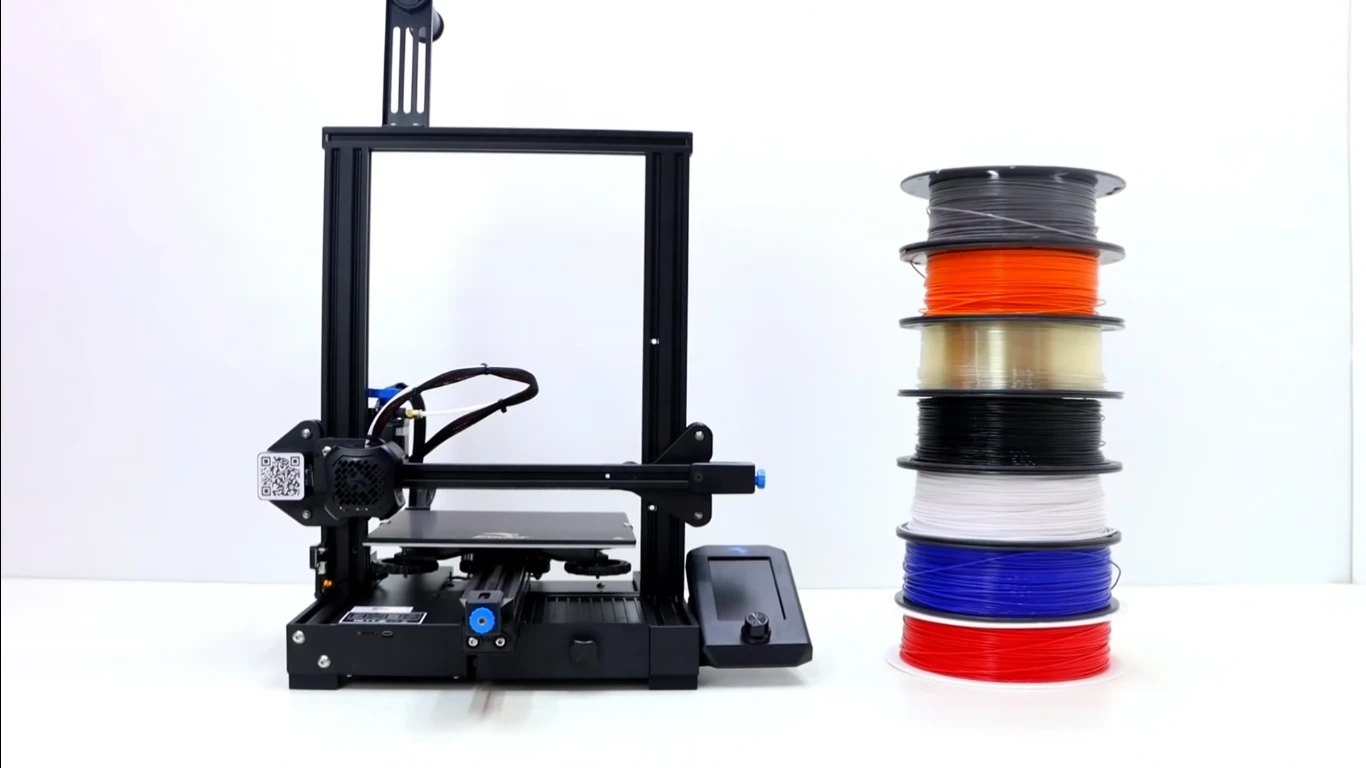
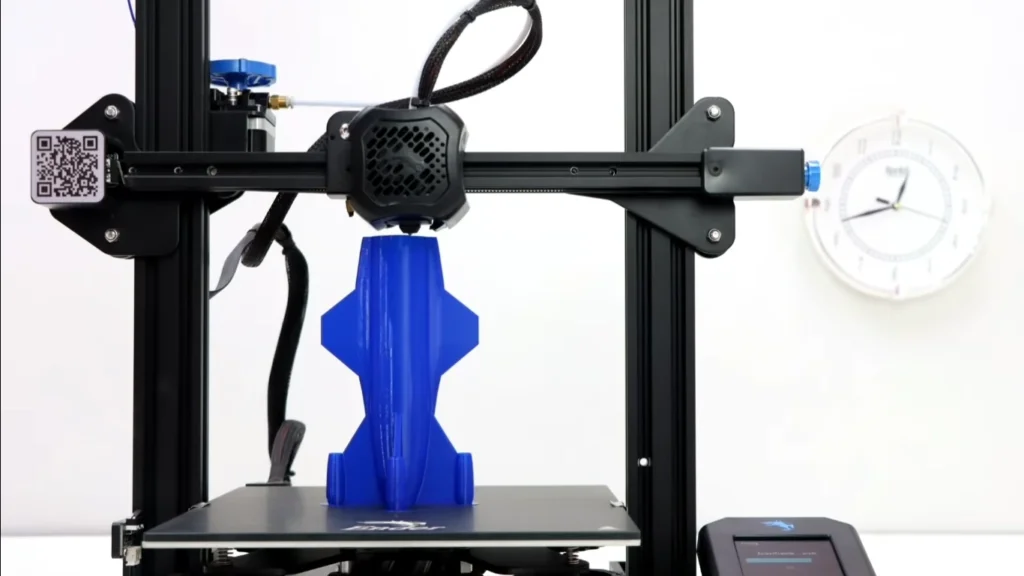
The Creality Ender 3 V2 hits the sweet spot in price for an entry-level printer up through a more advanced hobbyist level machine. It packs a 220 x 220 x 250mm build volume and so can accommodate everything from small highly detailed miniatures to larger print in place functional parts. The enclosed design makes it suitable for home offices or small workshops, minimizing noise and containing any potential fumes.
The Ender 3 V2 is predominantly a simple plug and play machine with great ability to print PLA straight out of the box. However, to get the most out of it for a range of materials, and better print quality you may need some upgrades. Optional upgrades like a metal hotend, direct drive extruder, or auto-leveling sensor can enhance your printer’s capabilities for specific materials and tasks, but they come with an added cost.
The Ender 3 V2 is compatible with a wide array of slicing software, and even the very popular Cura will work perfectly. The printer’s large community following means there’s no shortage of pre-configured profiles and troubleshooting guides, making it an excellent choice for beginners and experienced makers alike.
After weeks of extensive testing, printing everything from detailed figurines to functional prototypes, I’m ready to share my honest review of this budget-friendly powerhouse. Noosing the Best 3D printers lists that’s around, but in terms of bang for your buck and potential for upgrades, then it is hard not to give serious consideration as a leading contender. Let’s dive into the details and see if it still holds up in 2024.
Creality Ender 3 V2
Pros
32-bit board
Glass bed adhesion
Belt tensioners included
Quiet stepper motors
Metal frame quality
Cons
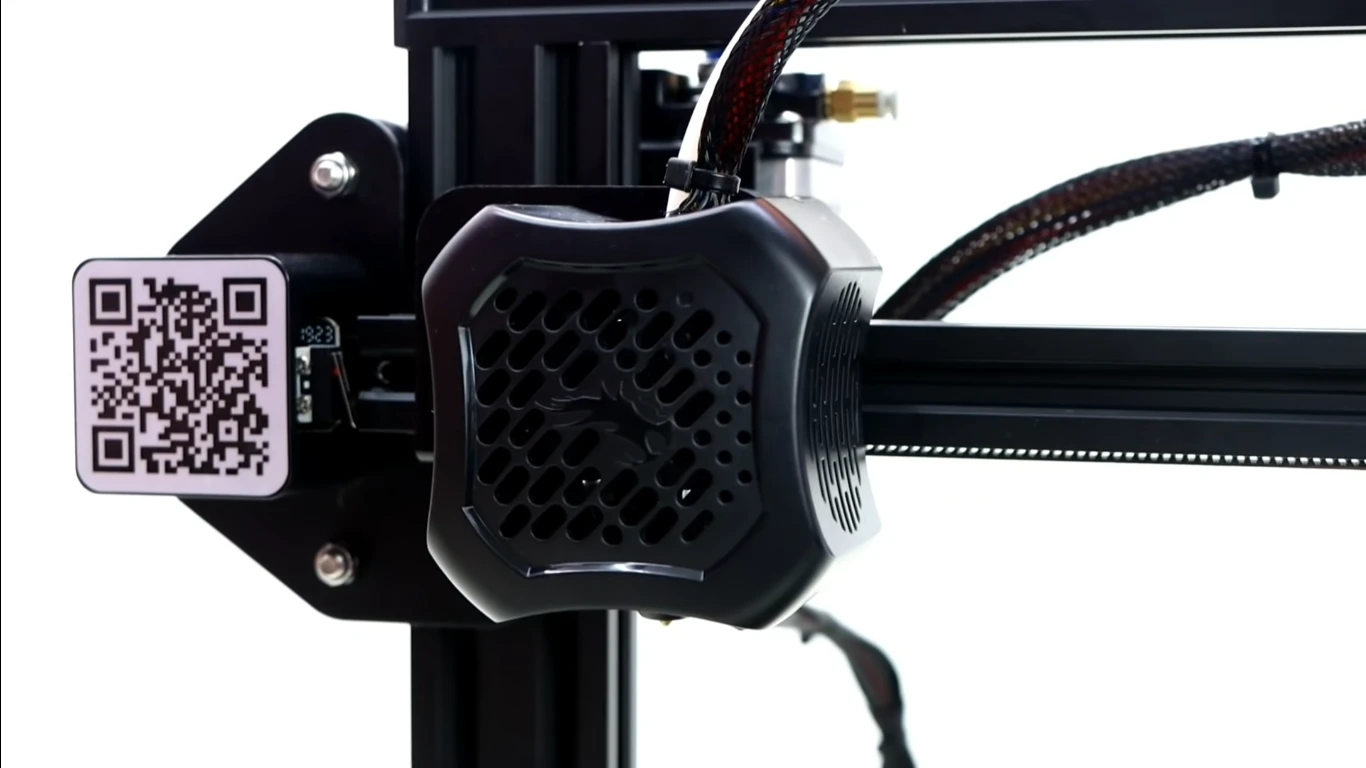
Noisy cooling fans
Non-touch screen
Limited print volume
Basic firmware features
Wheel wear issues
Unboxing and Assembly: A Beginner-Friendly Start
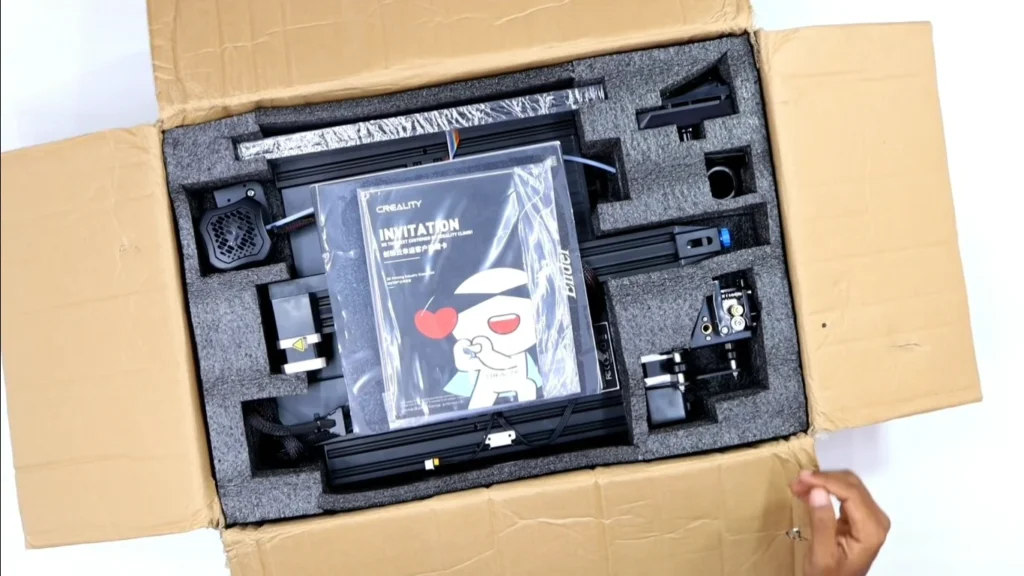
The moment you open the box, you’ll find a neatly organized package that won’t be too complicated. It looks like Creality has put some effort on making the assembly less painful than others as well. It is also ready-to-use out of the box and this saves plenty of time for those new to 3D printing (arrives pre-assembled at about 80%).
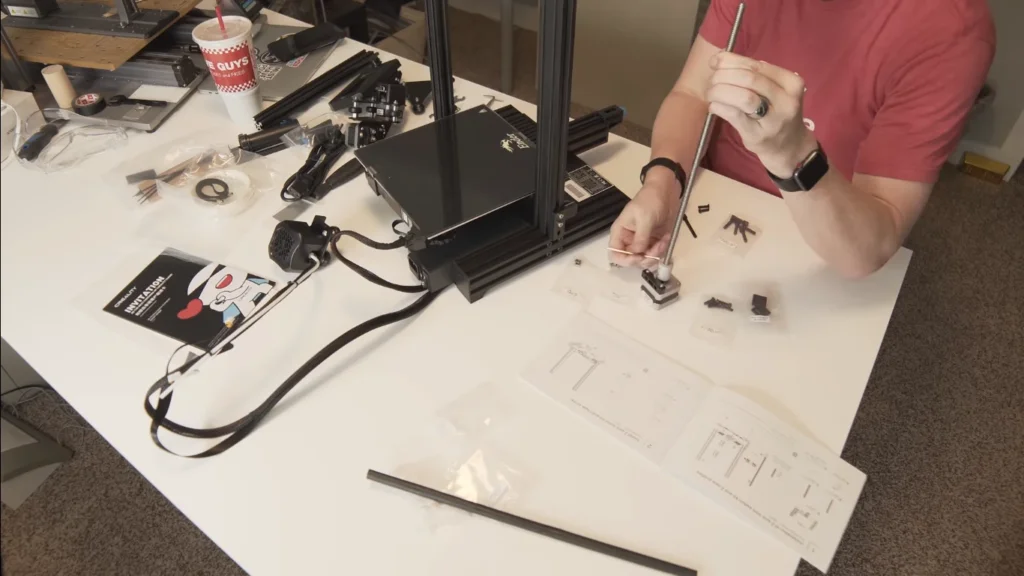
I managed to get the Ender 3 V2 up and running in about 45 minutes, though your mileage may vary. The included instructions are surprisingly clear, and Creality even throws in a handy assembly video on the provided microSD card. It’s a nice touch that shows they’re thinking about the user experience.
The only minor hiccup I struggled with was the X-axis belt tensioner. A little clunky, but nothing that won’t make you want to rip out a lock of your hair. Pro Tip – Spend a lot of time on this step, it will pay off if you have the right print.
Design and Build Quality: Solid as a Rock
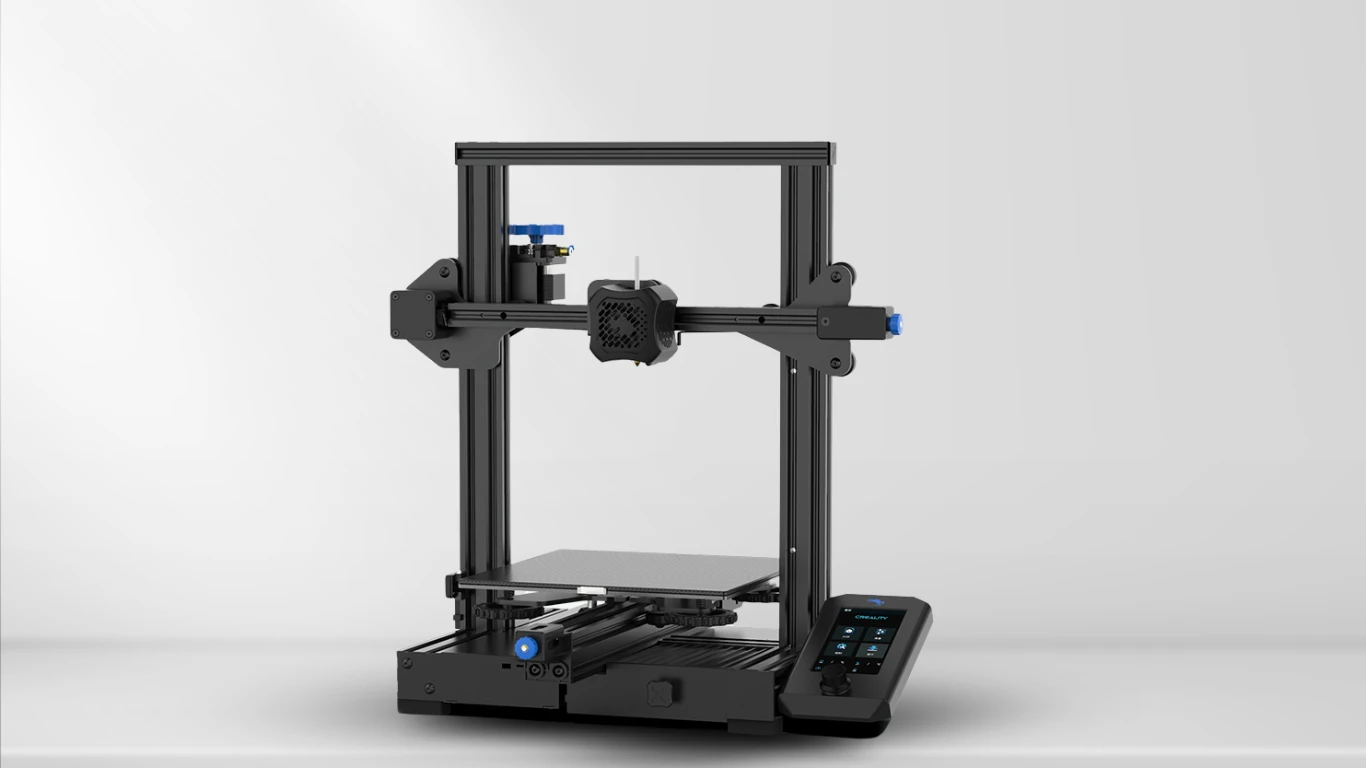
Once assembled, the Ender 3 V2 stands as a testament to Creality’s commitment to build quality. The all-metal build, composed of black aluminum extrusions results in a confidence-inspiring robust frame. This is a step up from the lightweight plastic contraptions I’ve used in years prior.
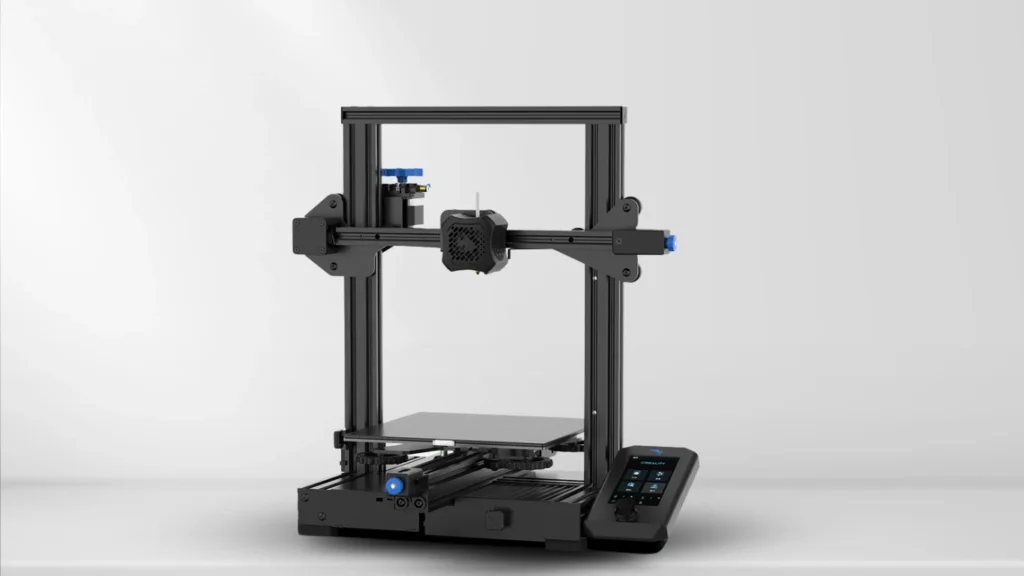
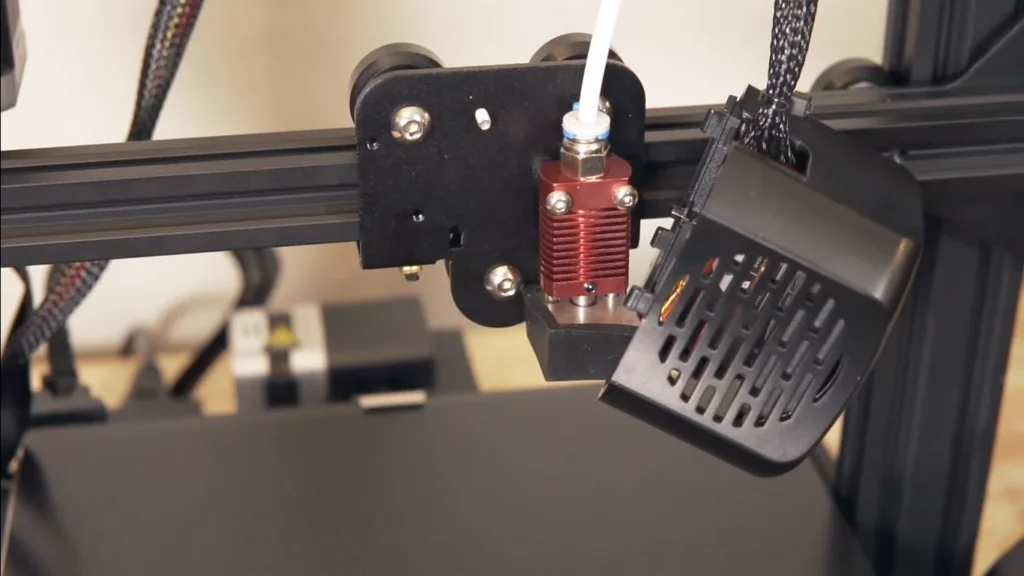
The build volume stay the same as well, across all predecessor models being 220 x 220 x 250 millimeters. It is not the largest print area, but it should be plenty big for most projects. I’ve successfully printed everything from intricate miniatures to sizeable functional parts without feeling cramped.
One design choice that caught my eye is the wider 4040 aluminum extrusion profile for the Y-axis. This beefier base contributes to improved stability during prints, which is crucial for achieving those crisp, clean layers we all crave.
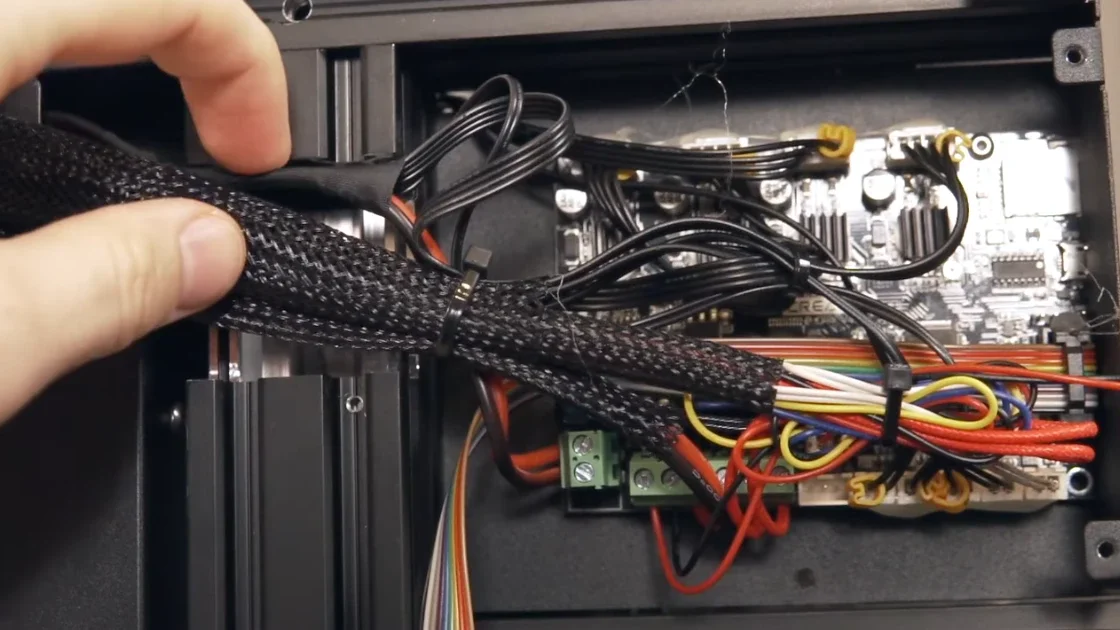
The integrated structure is a nice touch, giving the printer a sleek, professional look. Creality has also tucked the power supply underneath the machine, which not only looks cleaner but also improves weight distribution. It’s these little details that show Creality’s evolution in design thinking.
Upgraded Features: Small Changes, Big Impact
Ender 3 V2 features quite a few upgrades that are not revolutionary, but improve the user experience for sure. Let’s break down some of these improvements:
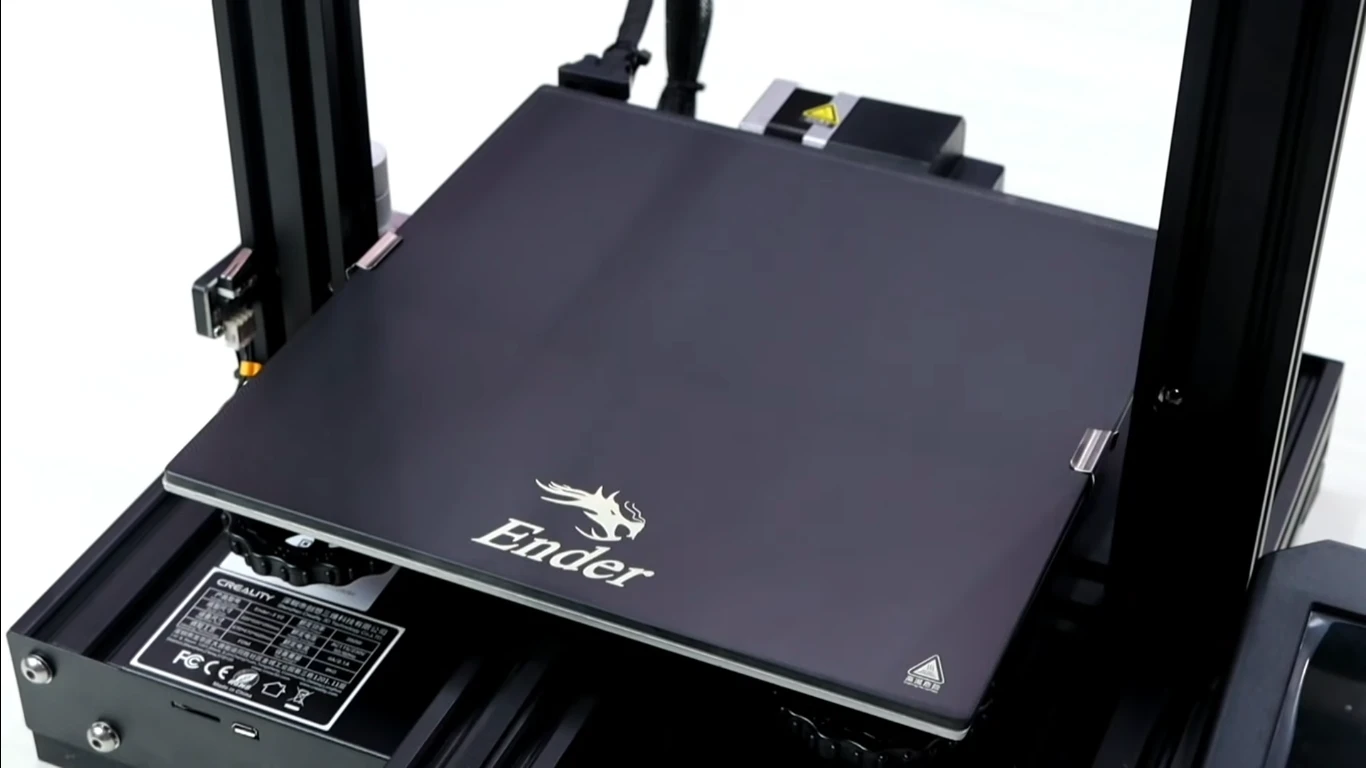
- Carborundum Glass Plate: This is a major upgrade from the original build surface. The textured glass provides excellent adhesion when hot and releases prints easily once cooled. I’ve found it to be a game-changer for bed adhesion issues.
- Belt Tensioners: The inclusion of belt tensioners for both the X and Y axes is a significant improvement. Being able to adjust belt tension without extensive disassembly enhances the overall user experience.
- Silent Motherboard: The 32-bit board with Trinamic drivers is a significant upgrade. The printer is whisper-quiet during operation, with only the cooling fans making any noticeable noise.
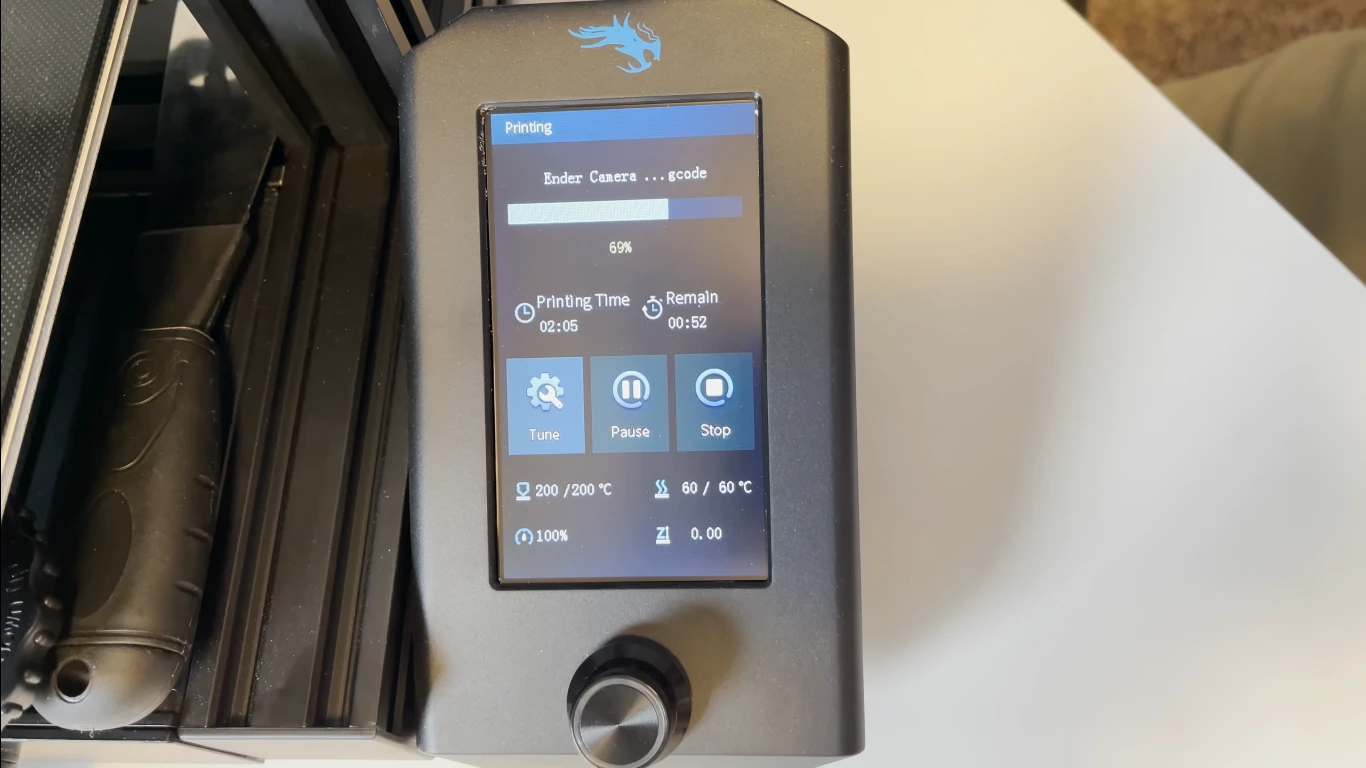
- Color Screen: The 4.3-inch color screen is a nice touch, though it’s not a touchscreen. The interface is clear and easy to navigate, but I did notice some limitations with long filenames.
- Extruder Knob: Manually controlling filament feeding is a small feature that can be surprisingly helpful, especially when loading new filament or dealing with jams.
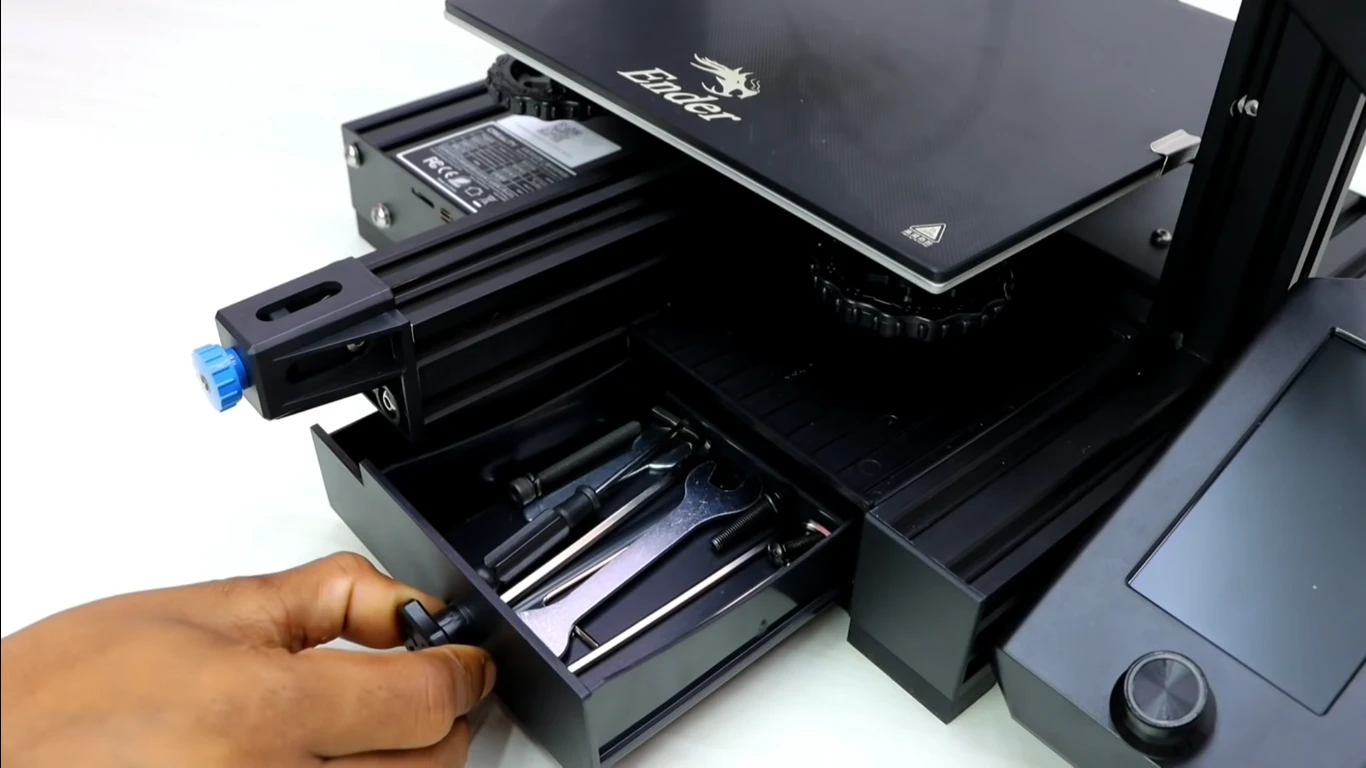
- Underneath Storage: The added storage compartment is handy for keeping tools and spare parts organized and within reach.
All of these upgrades together make for an all around improved printing experience. However, it’s worth noting that some users might find the cooling fans louder than expected, which somewhat counteracts the silent motherboard.
Print Quality: Where the Rubber Meets the Road
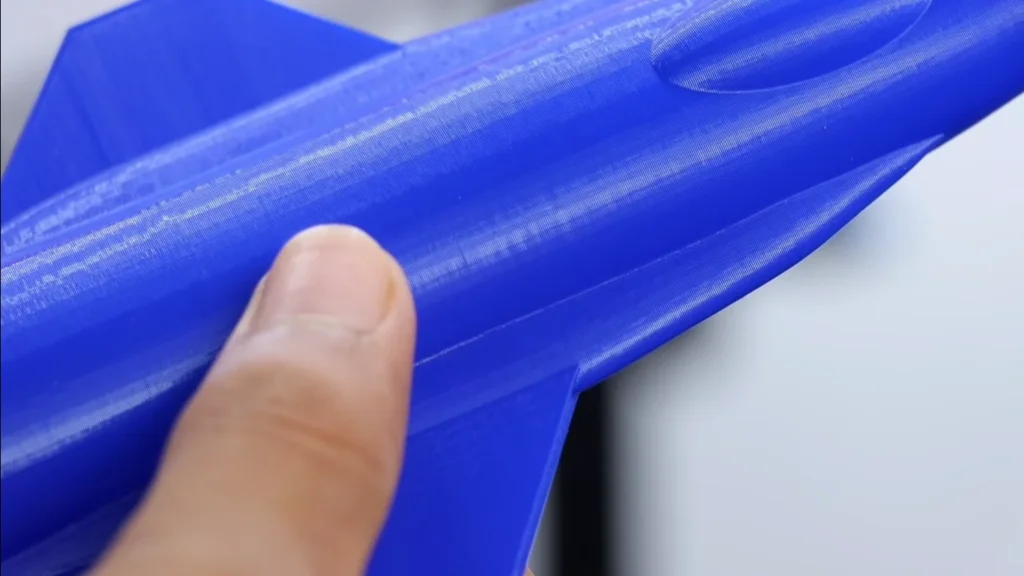
If a printer can’t output quality prints, well then all the fancy features in the world don’t matter. Fortunately, the Ender 3 V2 is no exception. I’ve never failed to be impressed with the performance of this machine, and I have tortured a lot on my test prints.
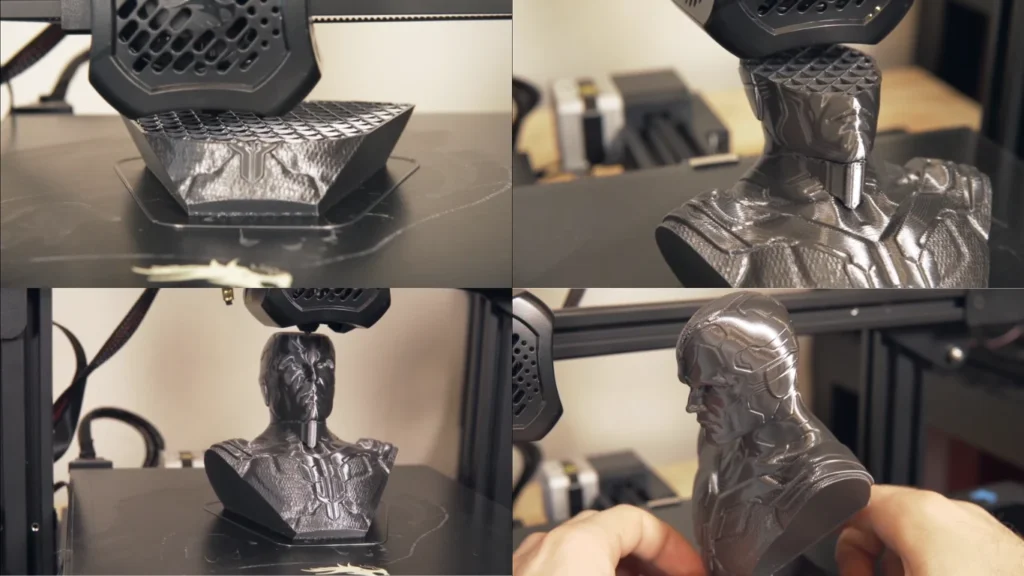
Starting with PLA, the most common filament for hobbyists, the Ender 3 V2 produces crisp, clean prints right out of the box. I printed a detailed lucky cat figurine at fine resolution, and the result was stunning – sharp whiskers, clear facial features, and smooth curves throughout.
Moving on to more challenging materials, I tackled PETG with a 20-hour coin car cup organizer print. While there was some minor stringing (those pesky little whisps of plastic between parts), it was nothing that couldn’t be cleaned up easily. With some tweaking of retraction settings, I’m confident these issues could be minimized further.
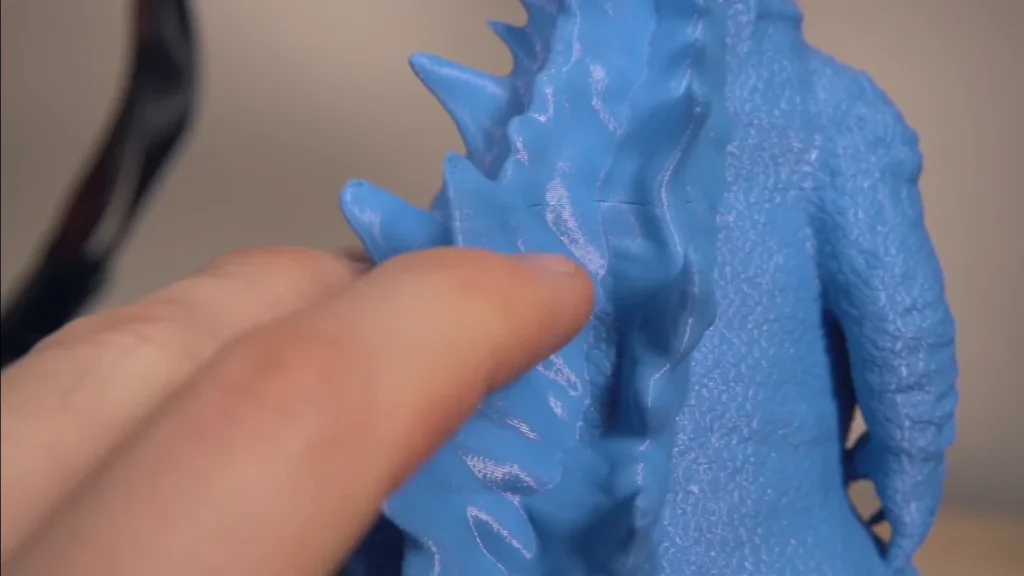
One of the most impressive prints I completed was a 30-hour detailed Godzilla model. The level of detail the Ender 3 V2 managed to capture was remarkable, especially considering its price point. From the textured skin to the intricate spines, the print quality rivaled that of much more expensive machines.
I also experimented with some functional prints, creating various vacuum hose attachments using adaptive layers. The printer handled the varying layer heights with aplomb, resulting in sturdy, functional parts that fit perfectly.
For those who like a bit of bling in their prints, I tested out some silky PLA with a Vision bust. The results were eye-catching, with the filament’s sheen accentuating the model’s contours beautifully.
It’s worth noting that while the printer handles most materials well out of the box, there’s always room for improvement through careful calibration and setting adjustments. This is particularly true for more challenging filaments like TPU, which can be a bit tricky with the stock Bowden setup.
Ease of Use: Beginner-Friendly
One of the Ender 3 V2’s strongest suits is its approachability for beginners while still offering depth for more experienced users. The initial setup, including bed leveling, is straightforward thanks to the large adjustment knobs. However, it’s worth noting that this is still a manual process – there’s no auto bed leveling out of the box.
This new UI on the color screen is clear, and navigation through menus and starting prints should be a breeze for everyone. That said, the absence of a touchscreen interface can sometimes come off as clumsy compared to more contemporary ones.
One aspect that greatly enhances usability is the ability to resume printing after power outages. This feature has saved me more than once during long prints when the power decided to take an unexpected vacation.
For those who like to tinker, the Ender 3 V2 is a dream. The open design and vast community support mean there’s no shortage of upgrades and modifications available. From auto bed leveling kits to direct drive extruder conversions, the possibilities for customization are nearly endless.
Connectivity and Software: Room for Improvement
The Ender 3 V2 offers standard connectivity options – you can print via microSD card or USB connection. While functional, it feels a bit dated in 2024 when many printers offer Wi-Fi connectivity and remote monitoring.
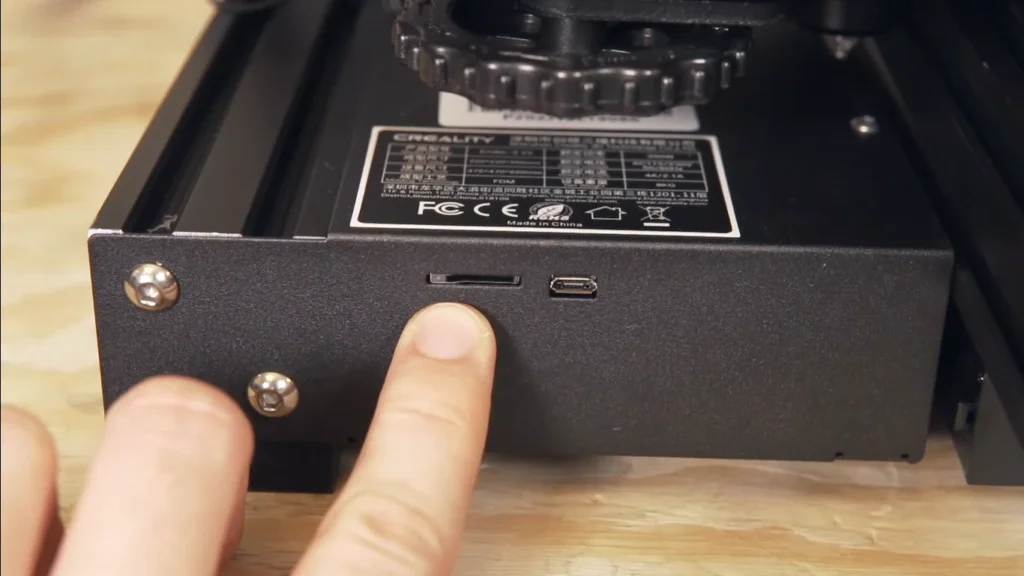
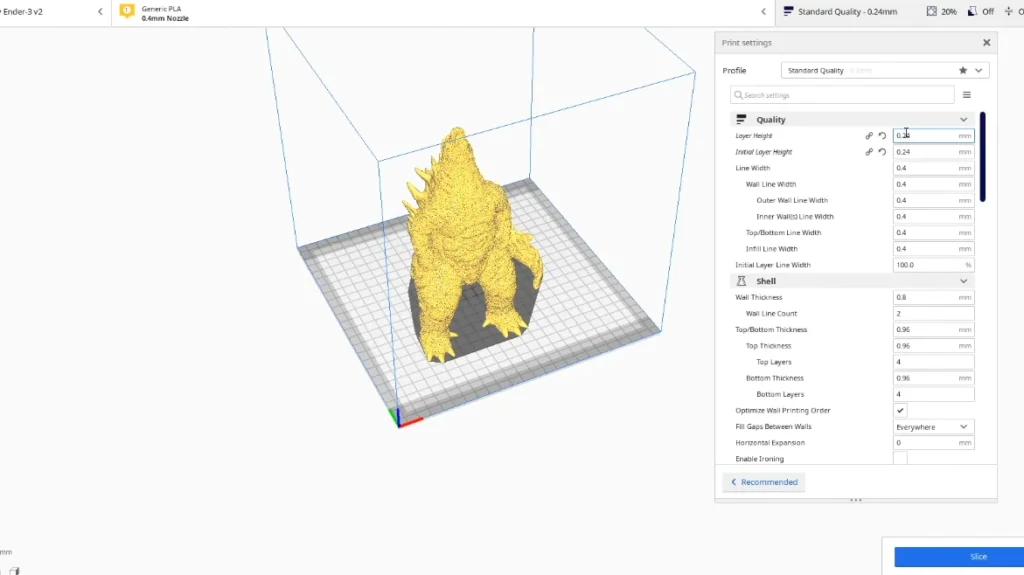
On the software front, the printer is compatible with most popular slicing software like Cura and Simplify3D. Creality also offers their own slicer, but I found myself sticking to Cura for its wider range of settings and community profiles.
One minor gripe is the firmware’s lack of some quality-of-life features like filament change routines or mesh bed leveling. However, these can be added through firmware updates if you’re comfortable tinkering.
Creality Ender 3 V2 Specification Chart
| Specification | Details |
|---|---|
| Build Volume | 220 x 220 x 250 mm |
| Frame | All-metal construction |
| Bed | Carborundum glass plate |
| Motherboard | 32-bit with silent drivers |
| Screen | 4.3-inch color (non-touch) |
| Filament Diameter | 1.75 mm |
| Nozzle Diameter | 0.4 mm (stock) |
| Max Nozzle Temperature | 260°C |
| Max Bed Temperature | 100°C |
| Connectivity | USB, microSD card |
| Supported Materials | PLA, PETG (stock) |
| Layer Resolution | 0.1-0.4 mm |
| Print Resume | Yes |
| Filament Runout Detection | Optional upgrade |
| Price | $279 (often on sale for less) |
Long-Term Reliability: Built to Last
After putting the Ender 3 V2 through its paces for over 150 hours of printing, I can confidently say it’s built to last. The all-metal build and the use of top-tier components lead to a printer that seems genuinely robust for everyday printing.
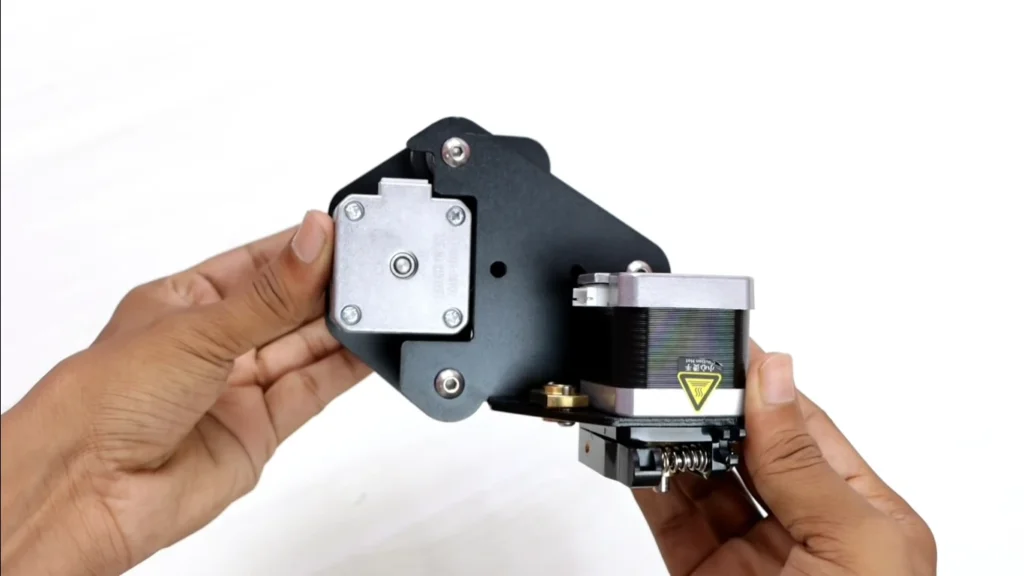
That said, no printer is without its quirks. I noticed that after extended use, the cooling fans started to get a bit noisy, suggesting that they might need replacement down the line. Additionally, the rubber wheels on the X and Y axes showed early signs of wear, something to keep an eye on for future maintenance.
I had one problem and that was the gear on the extruder loosening off of he motor shaft. Just a tip, if you run into any inconsistencies with your extrusion this is likely the issue and an easy fix.
These minor issues aside, the Ender 3 V2 has proven to be a reliable workhorse. With proper maintenance and the occasional upgrade, this printer seems poised to provide years of faithful service.
Value Proposition: Bang for Your Buck
With a price tag hovering around $279 (often on sale for less), the Ender 3 V2 sits in an interesting spot in the market. It’s pricier than some entry-level printers but offers features and print quality that punch above its weight class.
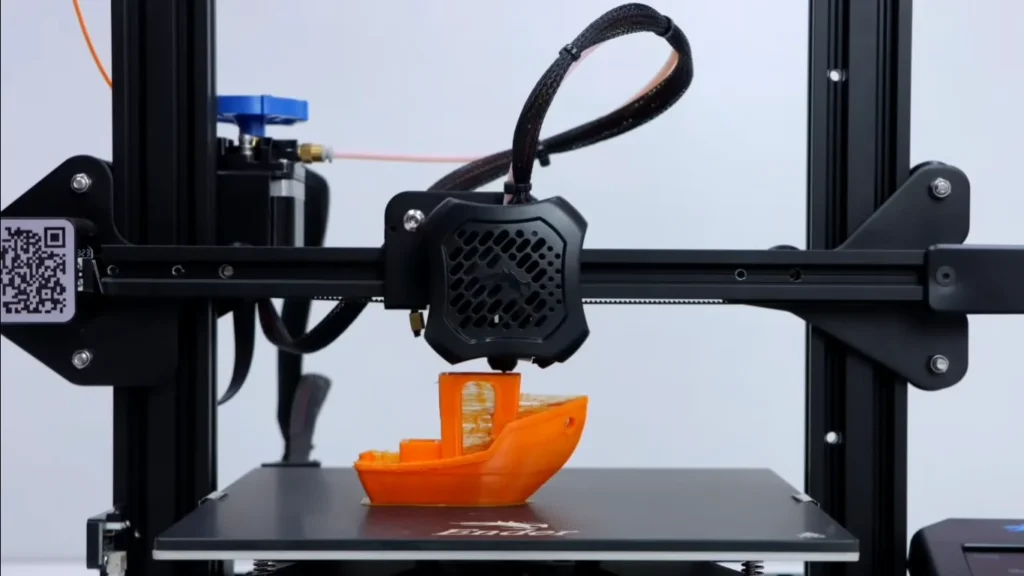
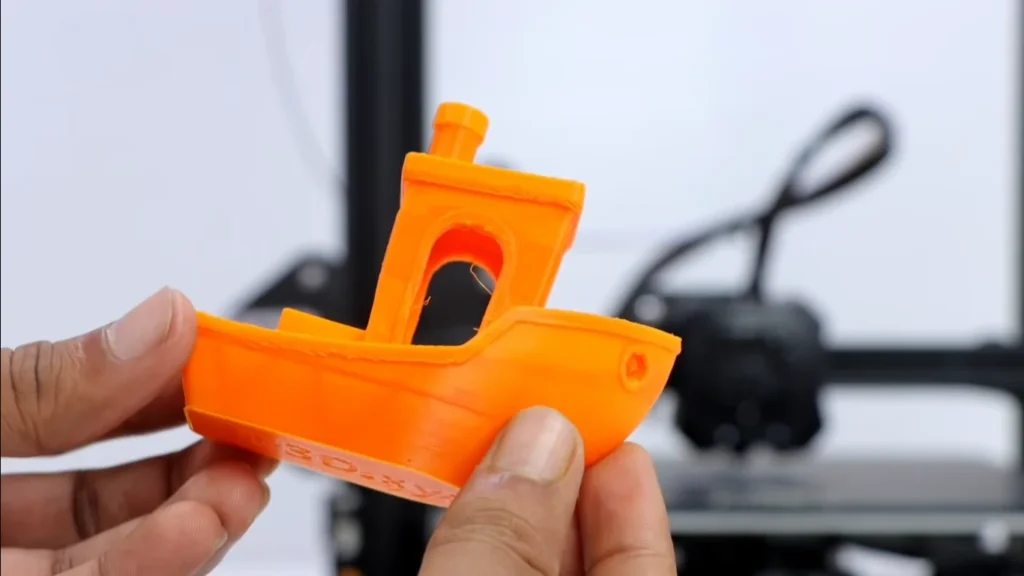
This is a very clear value proposition for beginners. You are receiving a printer with sufficient, upgradable stock features that prints really well as-is out of the box. A strong community also ensures you will never be too far from assistance or ideas on your next project.
If you already own an Ender 3, or the newer brother in “pro” format, upgrading is more of a consideration. Several of the V2 upgrades could be added to previous model years. However, if you’re starting fresh, the V2’s refined design and out-of-the-box features make it an attractive option.
Potential Upgrades: Room for Growth
While the Ender 3 V2 is impressive in its stock configuration, part of its appeal lies in its upgradability. Here are a few upgrades worth considering:
- BLTouch Auto Bed Leveling: This is perhaps the most popular upgrade, taking the hassle out of manual bed leveling.
- All-Metal Hotend: If you are planning to print with higher-temperature filaments, upgrading the Hotend into an all-metal one is a good idea.
- Direct Drive Extruder: This can have a benefit for performance with flex filaments such as TPU.
- Upgraded Cooling Fans: Quieter, more efficient fans can enhance both print quality and the printing experience.
- Filament Runout Sensor: A nice quality-of-life upgrade that pauses the print if you run out of filament.
One of the great things about an Ender 3 V2 is that many upgrades are available and relatively simple to install so your printer can expand with you as you learn more or need additional features.
Community and Support: A Thriving Ecosystem
The Ender 3 V2’s real power isn’t just in its hardware. It has a huge community of users online. This means you can find lots of help, like guides to fix problems, special software, and settings.
This community support can be a lifesaver, especially for beginners. When I encountered issues with stringing on PETG prints, a quick forum search yielded several solutions and profiles to try. It is as if a global team of subject matter experts were available to you on demand.
One thing to bare in mind is that Creality can sometimes hit their head on the nail when it comes official support. In my experience, I found the community forums and YouTube tutorials more helpful for solving issues quickly.
Final Thoughts
The Creality Ender 3 V2 is available in various configurations, with the basic model retailing for $279, though it’s often on sale for less. Although upgrading to an all-metal hotend, direct drive extruder, and auto-bed leveling features etc could increase the cost up to $400-500 depending upon upgrades options.
As a standalone unit, the sub-$300 Ender 3 V2 offers an excellent experience for PLA printing and serves as a solid foundation for those new to 3D printing. However, the additional upgrades required to fully unlock its potential across a wider range of materials do increase the overall investment. This brings it closer to the price range of more advanced printers like the Prusa i3 MK3S+, which offers some of these features out of the box.
For those looking for a reliable, modifiable 3D printer complete with an enthusiastic following of users the Creality Ender 3 V2 may be just what you are after. It consistently delivers high-quality prints from the start and offers plenty of room for upgrades, making it a great choice for both newcomers and seasoned makers. If you need a more specialised machine right now with other technological advancements besides, read through our list of the best 3D printers. These models often have larger build areas, can handle multiple materials, or offer other cutting-edge capabilities.
Ultimately, the Ender 3 V2 remains a popular choice in 2024 is praise for its robust design and full user experience, with solid performance and rich community support. So if you are only just setting out to explore 3D printing or want an unflinching companion for your maker projects, the Ender 3 V2 remains a strong contender in this ever-expanding domain of desktop additive manufacturing.
FAQs
Is the Ender 3 V2 suitable for beginners?
Absolutely! With all 3D printers, there is some flattening curve to overcome however the Ender 3 V2 has one of least challenging ones. Its partially assembled design, clear instructions, and vast community support make it an excellent choice for those new to 3D printing. Just be prepared to tinker a bit – it’s part of the fun!
Can the Ender 3 V2 print with materials other than PLA?
Yes, but with some caveats. The Ender 3 V2 has strong out of the box PLA capabilities and fares well printing PETG with moderate dialing in. For the more exotic stuff like ABS or TPU, you may have to upgrade parts of your printer, this could be an all metal hotend or even a direct drive extruder. In my tests, I had great success with PLA and PETG, but your mileage may vary with other materials without modifications.
How loud is the Ender 3 V2 during operation?
One of the V2’s improvements over its predecessors is the inclusion of a silent motherboard with Trinamic drivers. This means the stepper motors are whisper-quiet during operation. However, the cooling fans can still produce noticeable noise, especially after extended use. In my experience, it’s quiet enough to run in a home office, but I wouldn’t want it printing next to my bed overnight.
Do I need to level the bed before every print?
Not necessarily, but regular bed leveling is crucial for consistent print quality. I found that once properly leveled, the Ender 3 V2 maintained its level for several prints. However, it’s a good habit to check your level every few prints or if you notice issues with first layer adhesion. For those tired of manual leveling, an auto bed leveling sensor is a popular upgrade.
Can I leave the Ender 3 V2 printing unattended?
The Ender 3 V2 may be reliable overall, but it’s still a good idea to keep an eye on your printer, especially with longer prints. The printer does incorporate a few safety features, such as thermal runaway protection, but more advanced monitoring for things like remote viewing or automatic powered-down once completed printing are not present. If you’re planning on longer prints, consider setting up a webcam for remote monitoring.
Nikko Jenkins is a technology journalist based in the US, covering tool reviews and comparisons across North America, Europe and Asia, particularly 3D Printers. His concise, insightful articles on the latest innovations help readers worldwide make informed tech decisions. Jenkins’ expertise and engaging style have made him a respected voice in the global technology landscape.
Feel free to reach out to me at nikkojenkins@360techinsights.com.

