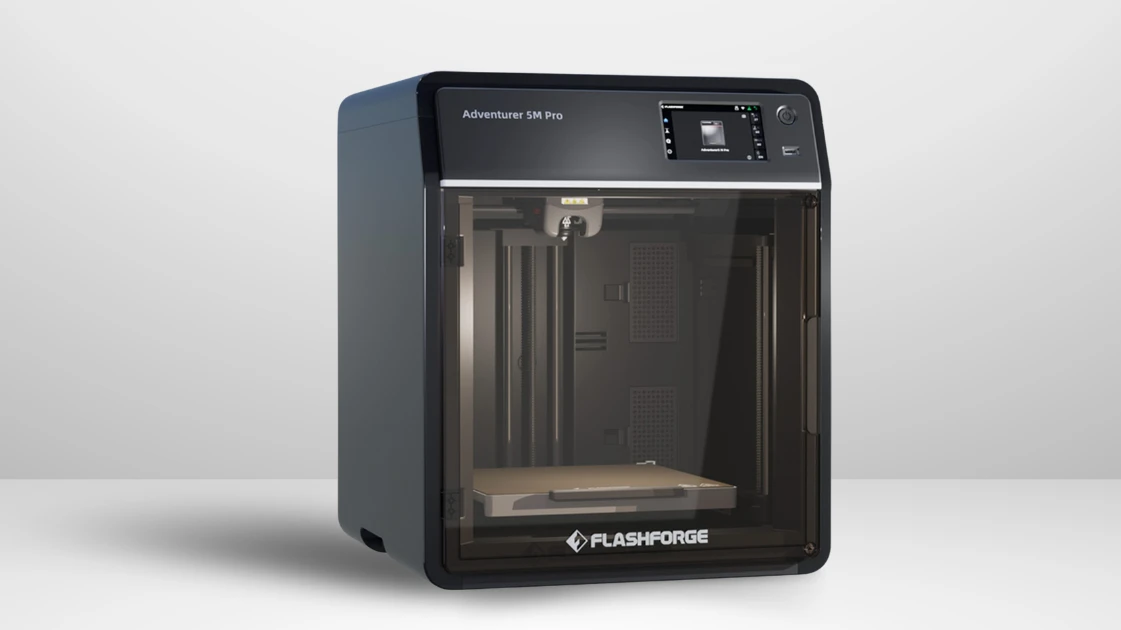
The Flashforge Adventurer 5M Pro occupies an interesting space in the 3D printing market, positioning itself between entry-level machines and more advanced, industrial-grade printers. Suited to home offices, small businesses or educational environments, with its enclosed design and 220 x 220 x 220mm build volume. With high-speed 3D printing, a convenient quick-swap nozzle system, and built-in air filtration are all designed to enhance user experience and print quality.
After weeks of rigorous testing, I’m ready to share my honest review of this compact Core XY printer. The Flashforge Adventurer 5M Pro might not be at the very top of every best 3D printer list, but it’s definitely worth a serious look if you’re seeking a versatile machine. The enclosed printer works quickly, creates high-quality prints and is also very user-friendly. Let’s take a deeper look and see it does really as good as it hype.
Flashforge Adventurer 5M Pro
Pros
- 👍 Quick-swap nozzle system
- 👍 Auto-leveling feature
- 👍 SOLID METAL FRAME
- 👍 Consistent print quality
- 👍 User-friendly touchscreen
Cons
- 👎 Wi-Fi functionality issues
- 👎 Bed adhesion problems
- 👎 Loud fans during operation
- 👎 Smaller build volume
- 👎 Awkward filament loading
Unboxing and First Impressions
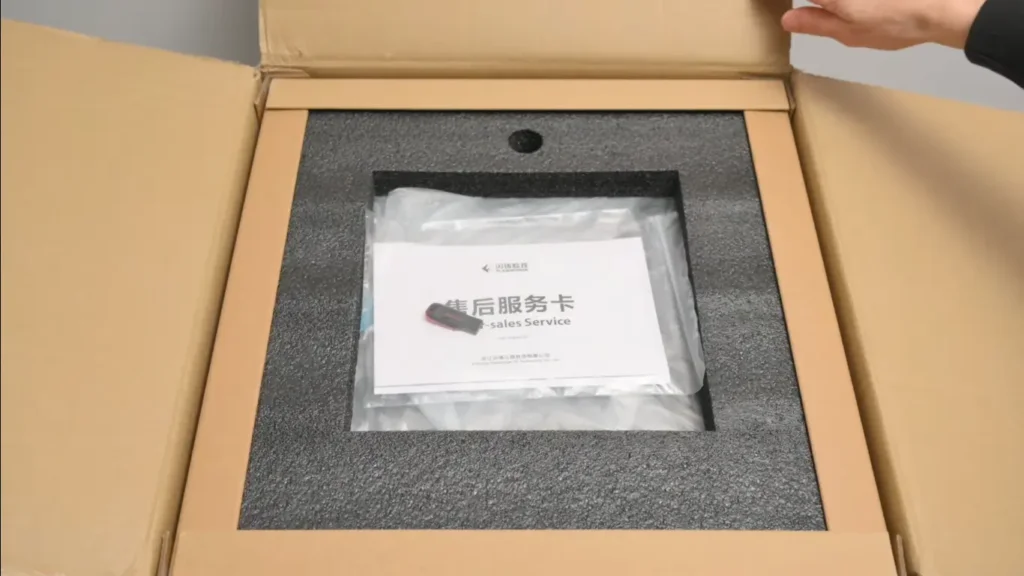
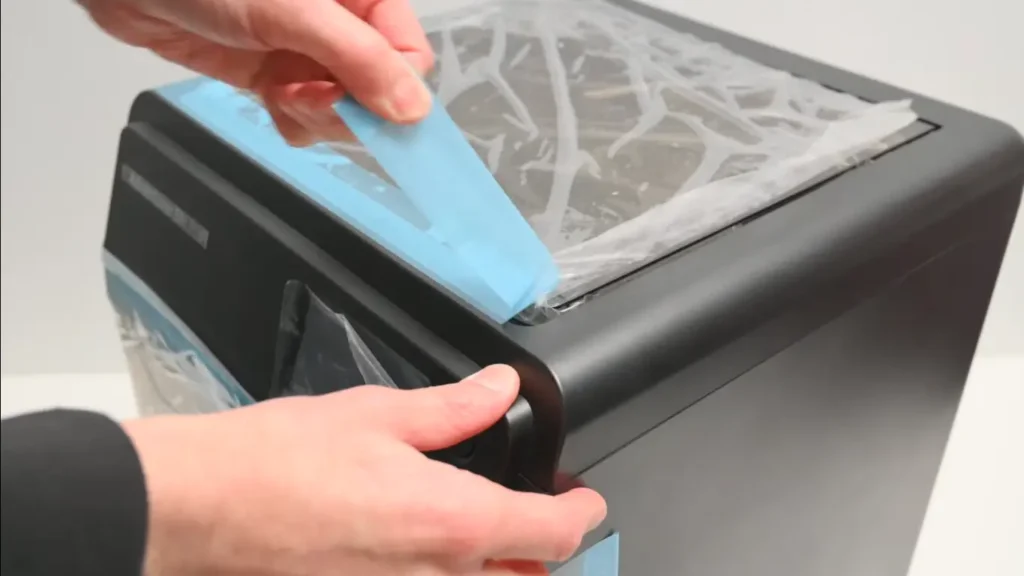
Right out of the gate, the Adventurer 5M Pro impressed me with its packaging. Everything was securely nestled in foam, and the printer itself came mostly assembled – a big plus for those who dread complicated setups.

The box contained all the essentials:
● The printer ● a 250g spool of PLA filament ● a power cable ● a screwdriver ● a 0.6mm nozzle kit ● grease ● a filament rack ● a USB drive ● diagonal pliers ● a glue stick ● an Allen wrench set ● and a quick start guide.
I was particularly pleased to see the inclusion of a 0.6mm nozzle kit right off the bat. It’s a nice touch that allows for some experimentation without additional purchases.
Setup: Not Quite 10 Minutes, But Close
Flashforge claims a 10-minute setup, which I found a tad optimistic. In reality, it took me about 20 minutes from unboxing to running the first calibration. That said, it’s still impressively quick compared to some other printers I’ve wrestled with.
The process involved:
- Removing packaging materials and transport screws
- Installing the filament holder
- Connecting the touchscreen (which was simple but added a few minutes)
- Plugging in and powering on
- Following the on-screen prompts for initial calibration
The auto-leveling feature is a godsend, taking the guesswork out of bed leveling. However, I did notice that the Z-offset sometimes needed a bit of manual tweaking for optimal first layer adhesion – more on that later.
Build Quality and Design
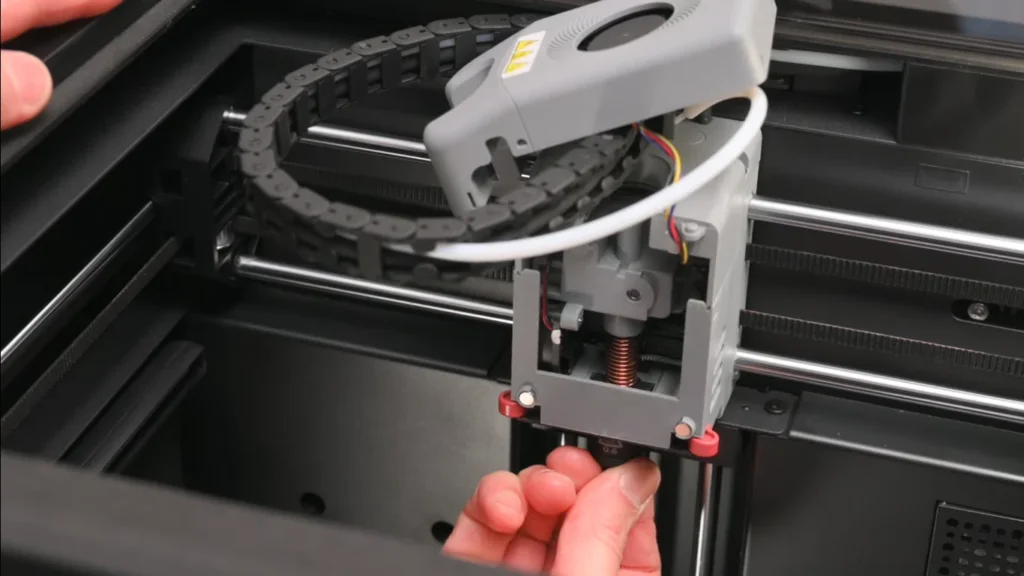
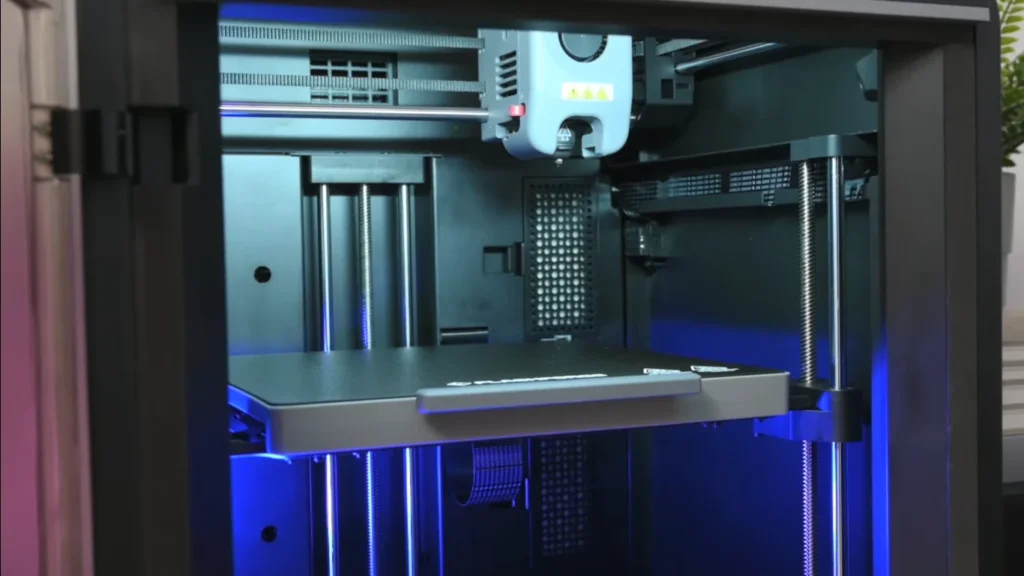
The Adventurer 5M Pro sports a CoreXY design, which contributes to its ability to handle high speeds. The frame feels solid, with a mix of metal internals and plastic exterior panels. It’s not the heaviest printer I’ve used, but it feels sturdy enough for its capabilities.
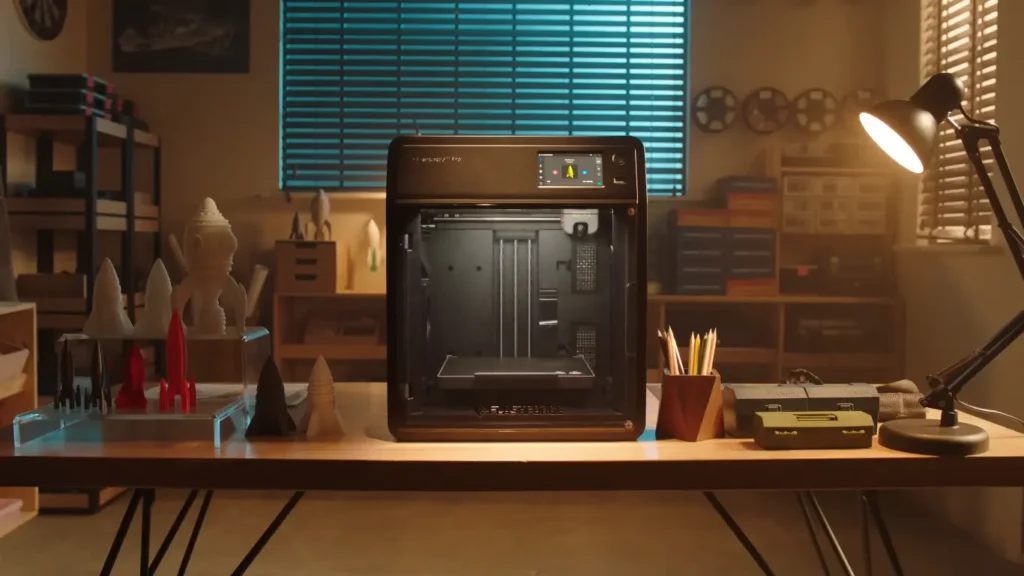
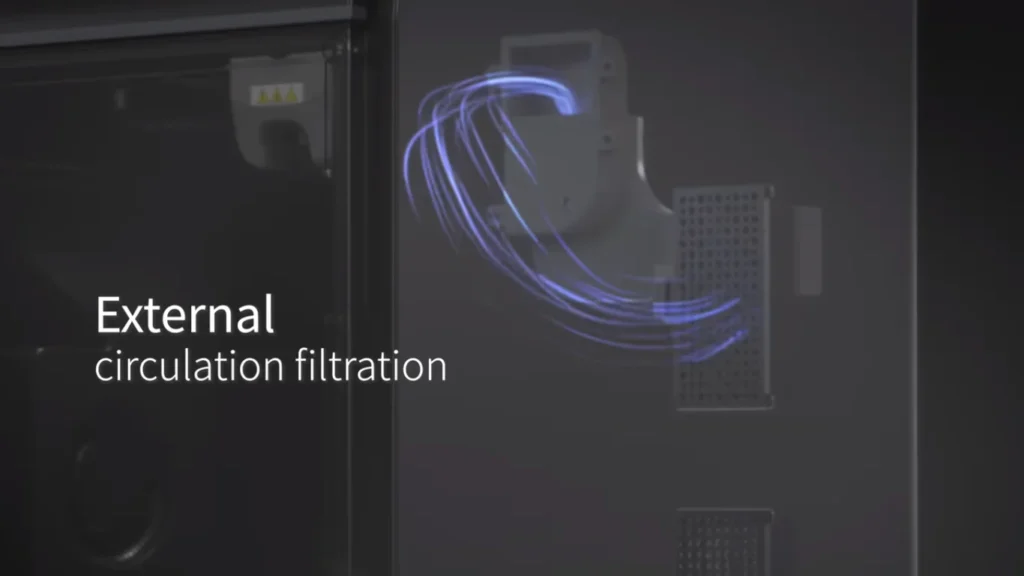
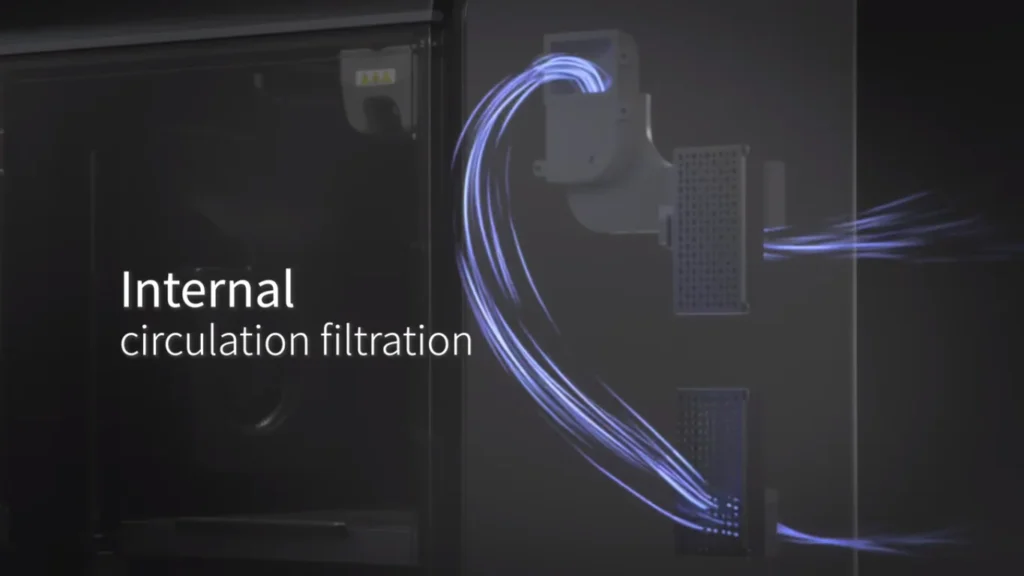
The enclosed design is a nice touch, especially for those planning to print with materials like ABS or ASA. It helps maintain a consistent temperature and, coupled with the built-in HEPA and activated carbon filtration system, makes for a more pleasant printing environment.
One design choice I’m not entirely sold on is the rear-mounted filament holder. While it keeps the overall footprint compact, it can be a bit awkward to change filaments, especially if you’ve got the printer tucked away in a corner.
Touchscreen Interface: Slick but Sometimes Stubborn
The 4.3-inch color touchscreen is mostly responsive and intuitive. I appreciated the clear icons and logical menu layout. However, I did encounter occasional moments where I needed to double-tap to register an input, which could be frustrating during fine adjustments.
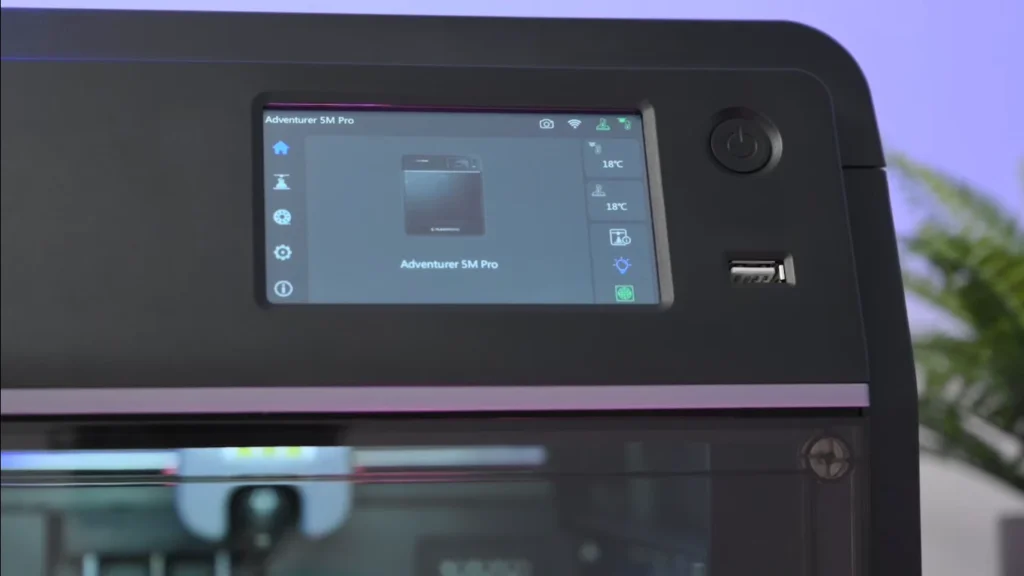
The interface provides easy access to all the essential functions, from loading filament to initiating prints. The ability to preview 3D models before printing is a nice touch, though don’t expect ultra-high-resolution renderings.
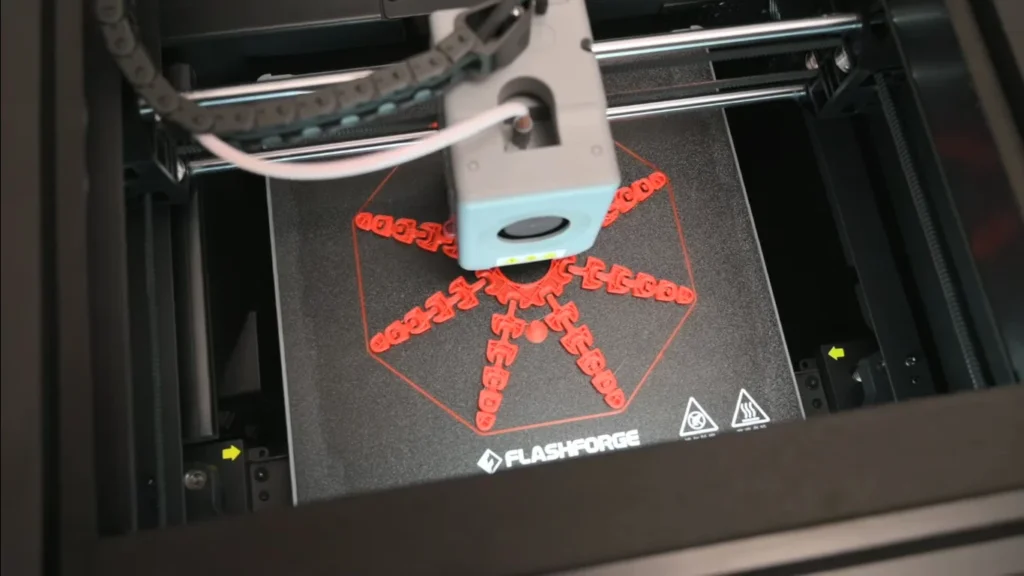
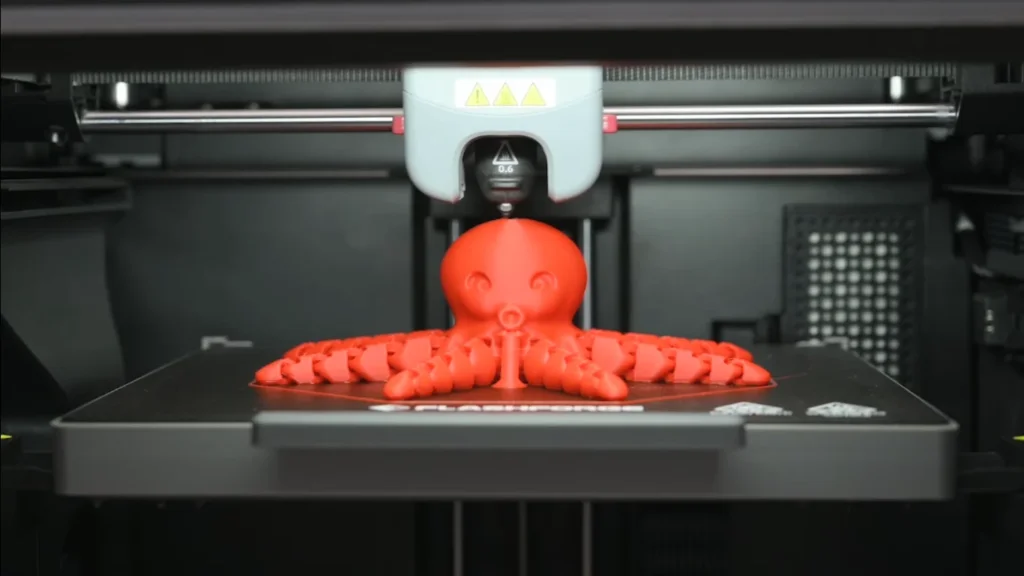
Print Quality and Speed
Now, let’s get to the meat of the matter – print quality. The Adventurer 5M Pro is capable of producing some impressive results, especially when you dial in the settings just right.


With the stock 0.4mm nozzle, I was able to achieve layer heights as low as 0.1mm, resulting in smooth surfaces and good detail reproduction on miniatures and architectural models. The CoreXY system really shines when it comes to maintaining quality at higher speeds.
Speaking of speed, Flashforge touts a maximum of 600mm/s travel speed and 20,000mm/s² acceleration. In practice, I found that print speeds between 150-300mm/s yielded the best balance of quality and speed for most models. Pushing beyond that often led to some quality issues, particularly with more complex geometries.
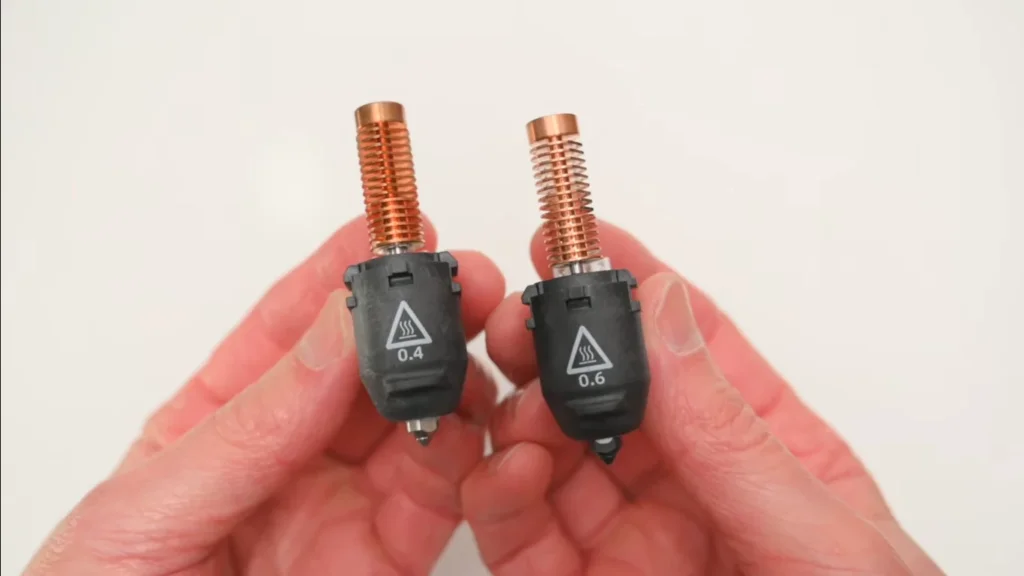
The included 0.6mm nozzle is a game-changer for larger, less detail-critical prints. Swapping to this wider nozzle allowed me to crank out functional parts and prototypes significantly faster without sacrificing too much detail.
One area where I encountered some frustration was bed adhesion. Initially, I had several prints fail due to poor first layer adhesion. After some experimentation, I found that a combination of lowering the initial layer speed, increasing the bed temperature slightly, and giving the PEI sheet a good cleaning with isopropyl alcohol resolved most issues. Still, for particularly tricky prints, I ended up resorting to the included glue stick.
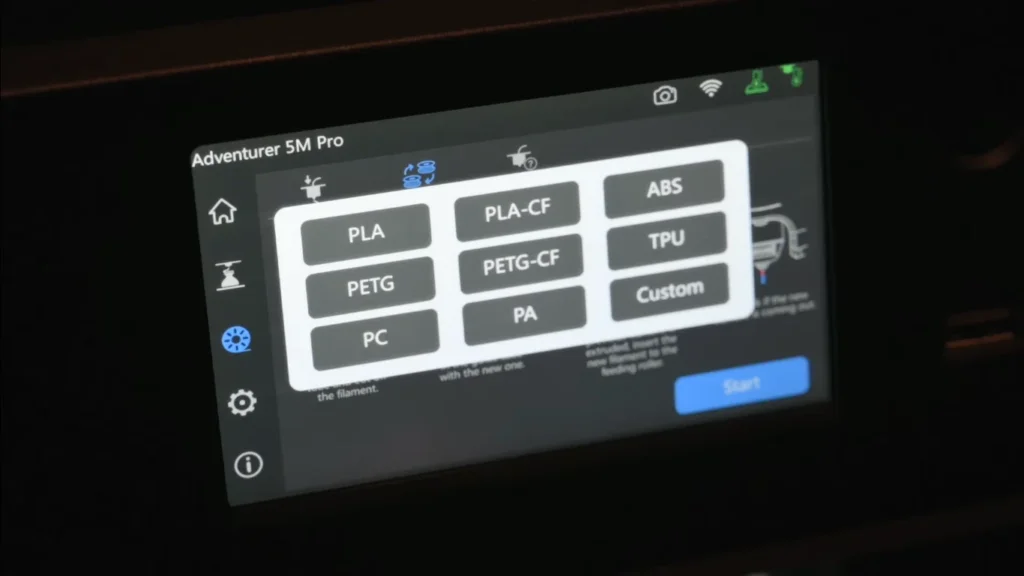
Material Compatibility: Versatile, with Some Caveats
The Adventurer 5M Pro handles a wide range of materials, including PLA, PETG, TPU, ABS, and even carbon fiber-filled filaments. This combined with the 110°C heatbed and enclosed design makes it suitable for more sensitive material.
I had great success with PLA and PETG right out of the box. ABS and ASA required some tweaking of settings and proper use of the enclosure, but once dialed in, produced strong, heat-resistant parts.
One thing to note is that while the printer can theoretically handle more exotic materials, you’ll want to stick with the recommended filaments unless you’re comfortable with a fair bit of experimentation.
Consumables Cost
The cost of consumables for the Flashforge Adventurer 5M Pro is relatively standard for the 3D printing market. Here’s a breakdown:
- Filament: Flashforge PLA filament, which costs $24.50 per 1kg spool. You’re free to use third-party filaments, although using Flashforge’s own ensures full compatibility.
- Build Plate: TThe PEI coated build plate is long-lasting, but will need to be replaced eventually. It is a new plate which cost around $30-40 depending where you are buying it.
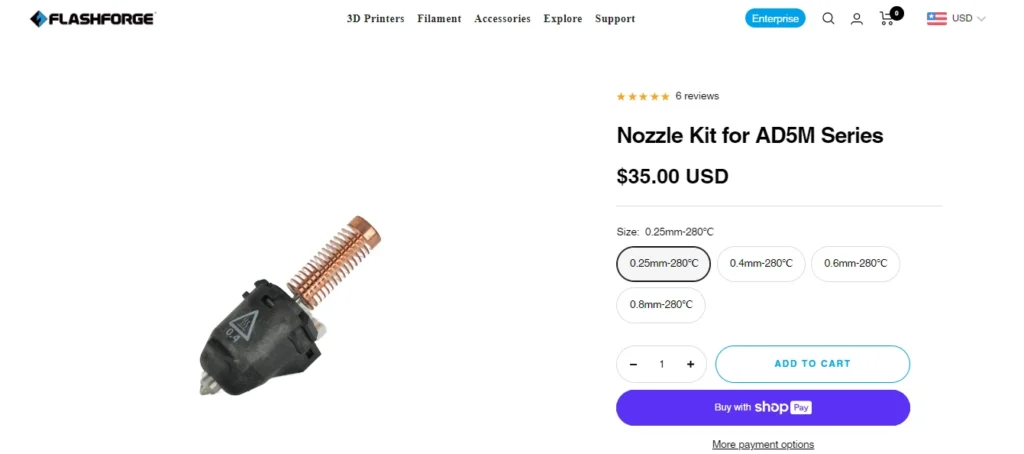
- Nozzles: Quick-swap nozzles are not a feature I can be upset about, but the fact that they are not just standard nozzles is annoying. They only run about 35$ for a 0.4mm, 0.6, and 0.8 pack so very affordable!
- HEPA Filters: To get the best quality air when you need them to be replaced periodically. A pack of two filters runs about $20.
Overall, consumables costs are moderate. You’re looking at around $100-150 per year for a hobbyist printing regularly, which is in line with other printers in this class.
Specification Chart
| Feature | Specification |
|---|---|
| Printing Technology | FFF (Fused Filament Fabrication) |
| Build Volume | 220 x 220 x 220 mm |
| Layer Resolution | 0.1 – 0.4 mm |
| Positioning Precision | X/Y: 0.0125 mm; Z: 0.0025 mm |
| Nozzle Diameter | 0.4 mm (default), 0.6 mm (included), 0.25/0.8 mm (optional) |
| Max Nozzle Temperature | 280°C |
| Max Bed Temperature | 110°C |
| Max Print Speed | 300 mm/s (practical), 600 mm/s (max) |
| Max Travel Speed | 600 mm/s |
| Max Acceleration | 20,000 mm/s² |
| Supported Filaments | PLA, PETG, TPU, ABS, ASA, PLA-CF, PETG-CF |
| Connectivity | USB, Wi-Fi, Ethernet |
| Touchscreen | 4.3-inch color |
| Filament Sensor | Yes |
| Auto-Leveling | Yes |
| Enclosure | Yes, with HEPA filter |
| Camera | Yes, for monitoring and time-lapse |
| Power Supply | Input: AC 100-240V, 50/60Hz; Output: 350W |
| Dimensions | 380 x 400 x 453 mm (excluding spool holder) |
| Weight | 10.8 kg |
| Software | FlashPrint 5 (included), compatible with others |
| Price | $599 |
Maintenance
Maintenance on the Adventurer 5M Pro is relatively straightforward, thanks to its enclosed design and built-in features. Here are the key maintenance tasks:
- Bed Leveling: Auto-leveling reduces manual adjustments, but regular bed level checks are still recommended.
- Nozzle Cleaning: The quick-swap system makes this easier, but you’ll still need to clean or replace nozzles occasionally, especially when switching materials.
- Filament Path Cleaning: Cleaning the filament path and extruder gears often helps prevent clogging.
- Filter Replacement: HEPA filter should be changed 3 – 6 months depending on use.
- Lubrication: The lead screws and linear rails require a little bit of grease every now and then as well.
While not maintenance-free, the Adventurer 5M Pro is less demanding than many open-frame printers. Most users should be able to handle these tasks with minimal fuss.
Quick-Change Nozzle System: A Mixed Bag
The quick-release nozzle system is one of the Adventurer 5M Pro’s standout features. In theory, it allows for tool-free nozzle changes, making it easy to switch between different sizes for various print needs.
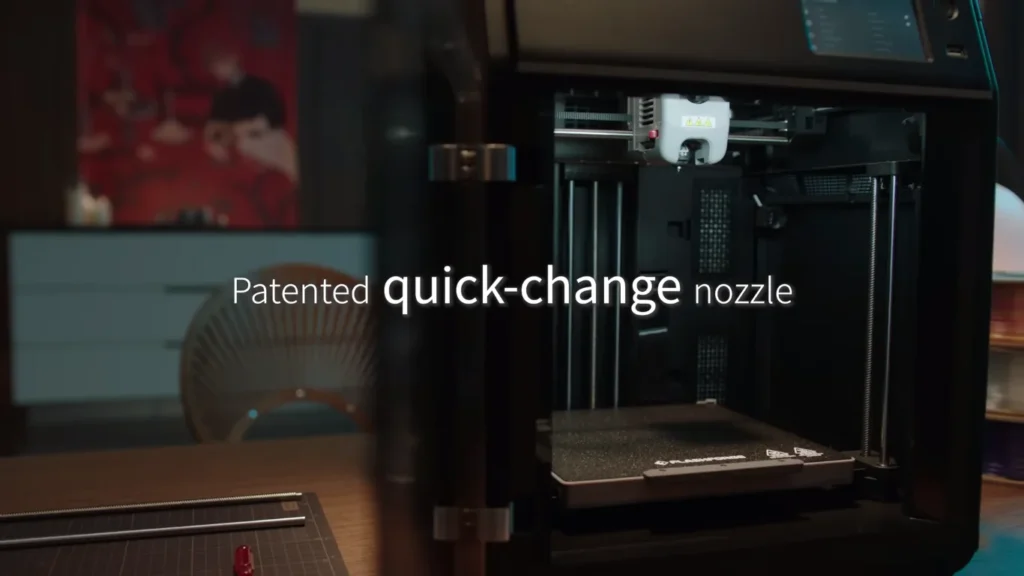
In practice, I found the system to be a bit finicky. While it’s certainly faster than traditional nozzle changes, it still requires a careful touch to ensure proper seating. During extended prints, the nozzle occasionally became loose, leading to unexpected and unusable results.
Once you become familiar with it, it’s a convenient tool, particularly if you often switch between different nozzle sizes for various projects.
Connectivity and Software: Room for Improvement
The Adventurer 5M Pro offers USB, Ethernet, and Wi-Fi connectivity options. In theory, this should make for a versatile and convenient printing experience. I experienced some difficulties, specifically with the Wi-Fi connectivity.

The Wi-Fi features were not fully functional during our review, which was a letdown. While Flashforge has promised to address this, it’s something to keep in mind if remote printing and monitoring are top priorities for you.
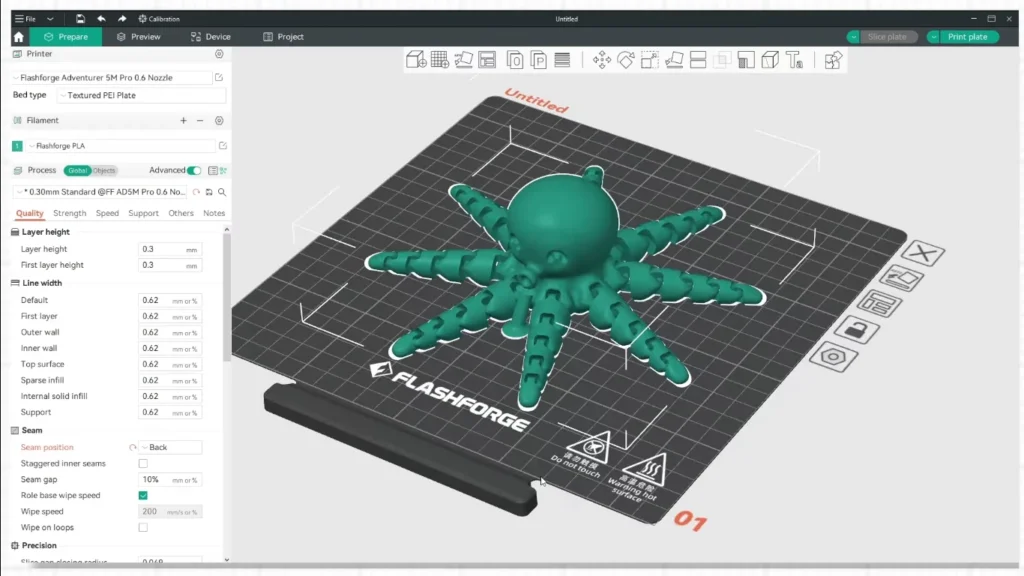
The printer comes with FlashPrint 5 slicing software, which is serviceable but not particularly impressive. I found myself gravitating towards Orca Slicer, which offered more granular control over print settings and generally produced better results.
One bright spot in the software department is the built-in camera for print monitoring. While not the highest quality, it’s adequate for keeping an eye on your prints from afar and creating time-lapse videos of your builds.
Noise Levels: Whisper-Quiet It Is Not
If you’re hoping for a ninja-quiet printer, the Adventurer 5M Pro might disappoint. Though it is not the loudest printer I have ever heard, I would not say that this machine is silent- particularly when printing faster.

The enclosed design does somewhat muffle the noise, although you will hear the stepper motors and cooling fans going. It’s not a deal-breaker, but something to consider if you’re planning to run this printer in a living space or shared office.
Maintenance and Support
Over my weeks of testing, I found the Adventurer 5M Pro to be relatively low-maintenance. The enclosed design helps keep dust at bay, and the filament runout sensor has saved me from a few failed prints.
The printer Offer 1-year warranty for the printer and 3 months on the nozzle component. While I haven’t had to put it to work yet, its availability is absolutely comforting.
One area where Flashforge could improve is documentation. However, even though the quick start guide is sufficient in all areas I needed it for, I found myself on forums and YouTube using suggestions online to troubleshoot as well.
Community and Support
The Flashforge community is active, though not as large as some other printer brands. You can find user groups on Facebook and Reddit where members share tips, troubleshooting advice, and model files.
Flashforge’s official support is generally responsive, with email support and a knowledge base available on their website. However, some users report longer wait times for complex issues or replacement parts.
The printer’s popularity in educational settings has led to a growing body of resources and tutorials online, which can be helpful for troubleshooting and optimization.
Target Audience
The Flashforge Adventurer 5M Pro is best suited for:
- Intermediate Hobbyists: Those with some 3D printing experience who want to step up to a faster, more capable machine.
- Educators: Its enclosed design and safety features make it suitable for classroom environments.
- Small Business Owners: The speed and material versatility are useful for rapid prototyping or small production runs.
While beginners can certainly use this printer, they might face a steeper learning curve compared to more basic models. Professionals requiring extremely high precision or large build volumes might find it limiting.
Alternatives
In the $500-$700 price range, the Adventurer 5M Pro competes with printers like the Prusa Mini+ and the Creality Ender 5 Plus. Here’s how it stacks up:
- Adventurer 5M Pro vs Prusa Mini+: While the Adventurer 5M Pro dwarfes the former two machines in terms of built volume and speed, where as the Prusa has a larger community behind it assuring robustness.
- Adventurer 5M Pro vs Creality Ender 5 Plus: While the Ender 5 Plus offers a significantly bigger build volume, it is missing the enclosed design and air filtration of the Adventurer 5M Pro.
The key trade-offs are between build volume, print speed, and ease of use. The Adventurer 5M Pro balances these well but sacrifices some build volume compared to open-frame alternatives.
The Verdict: A Solid Choice with Some Quirks
Having done some testing with the Flashforge Adventurer 5M Pro, I can tell you that it’s a workhorse machine offering great performance for its $599 price tag. It provides the high-speed printing and user-friendly features it promises, albeit with a few limitations.
Who Is It For?
the adventurer 5m pro is an excellent fit for tinkerers, educators and small businesses out there on the lookout for a solidly-built enclosed 3d printer that can handle multiple materials. beginners will likely be drawn to the ease-of-use, which allows those new to 3d printing the ability to print in three dimensions without too much technical know-how.


However, if you take pleasure in design and endless mods or need the largest build size possible, the Creality Ender 3 Pro is worth a look.
Final Thoughts
The Flashforge Adventurer 5M Pro is offered at a retail price of $599, which puts it in a competitive position within the mid-range 3D printer market. When you consider its features like the enclosed design, air filtration system, and quick-swap nozzle, it offers good value for the price.
Purchased as a standalone unit, the sub-$600 Adventurer 5M Pro offers an excellent experience for both beginners and intermediate users. Its simple, user-friendly interface and auto-leveling capabilities mean it’s a good starting place for people thinking about dipping their toes in 3D printing waters or upgrading from an entry-to-mid-range model.
The Flashforge Adventurer 5M Pro is an easy no-brainer pick to recommend for nearly anyone, providing you’re looking for a machine that dares balance speed and quality with heaps of ease of use. Because it has a closed design and filter, it is ideal for domestic use in homes or offices that are concerned about noise or fumes.
However, if you’re primarily focused on getting the absolute highest print quality or the largest build volume, it might be worth looking at our list of the best 3D printers, which includes some more specialized machines that offer larger build areas or even higher precision. Additionally, if Wi-Fi connectivity and remote printing are crucial for your workflow, you may want to wait for Flashforge to iron out the current issues with these features.
Ultimately, the Flashforge Adventurer 5M Pro represents a strong entry in the mid-range 3D printer market. A user-friendly setup, entry-level print quality and price point lend it appeal to hobbyists as well as small businesses and educational institutions. Whilst it might be not the perfect device, it is certainly worthy your inclusion on shortlist if you are looking at a dependable and adaptable 3D printer in 2024.
FAQs
How long does it take to set up the Flashforge Adventurer 5M Pro?
While Flashforge claims a 10-minute setup, in practice, it typically takes about 20-30 minutes from unboxing to running the first calibration.
Can I use third-party filaments with this printer?
Yes, third-party filaments are supported, but Flashforge recommends using its own or working closely with other producers to ensure yours is compatible with this printer and maintain your warranty.
How noisy is the Adventurer 5M Pro during operation?
While not the quietest printer on the market, the enclosed design helps muffle some noise. It’s louder at higher print speeds but generally acceptable for home or office use.
Does the printer require regular maintenance?
Yes, Some regular maintenance involves a sporadic bed leveling check, intermittent nozzle cleaning, changing the filter every 3–6 months, and lubricating moveable parts.
Can I print remotely using Wi-Fi?
The printer has Wi-Fi capability, but as of early 2024, some users report issues with Wi-Fi functionality. Flashforge is working on updates to improve this feature.
How does the quick-change nozzle system work?
The system allows for tool-free nozzle changes when the nozzle is cold. While faster than traditional systems, it requires careful handling to ensure proper seating.
What’s the warranty on the Adventurer 5M Pro?
Flashforge provides a 12-month limited warranty for the printer and a 3-month warranty for the nozzle components.
Can this printer handle high-temperature materials like Nylon or PC?
The printer is capable of hitting nozzle temperatures up to 280 °C but is geared towards the likes of PLA, PETG, TPU, ABS and other materials.
How does the build volume compare to other printers in this price range?
The build volume of 220 x 220 x 220 mm is common for those type of printers, some competitors have built larger prints, especially in open-frame designs.
Is the Adventurer 5M Pro suitable for beginners?
It is user-friendly but it needs a small learning curve. For intermediate and developers or badass creatives that just want to get it done, this free plugin is best WordPress tool for.
Nikko Jenkins is a technology journalist based in the US, covering tool reviews and comparisons across North America, Europe and Asia, particularly 3D Printers. His concise, insightful articles on the latest innovations help readers worldwide make informed tech decisions. Jenkins’ expertise and engaging style have made him a respected voice in the global technology landscape.
Feel free to reach out to me at nikkojenkins@360techinsights.com.