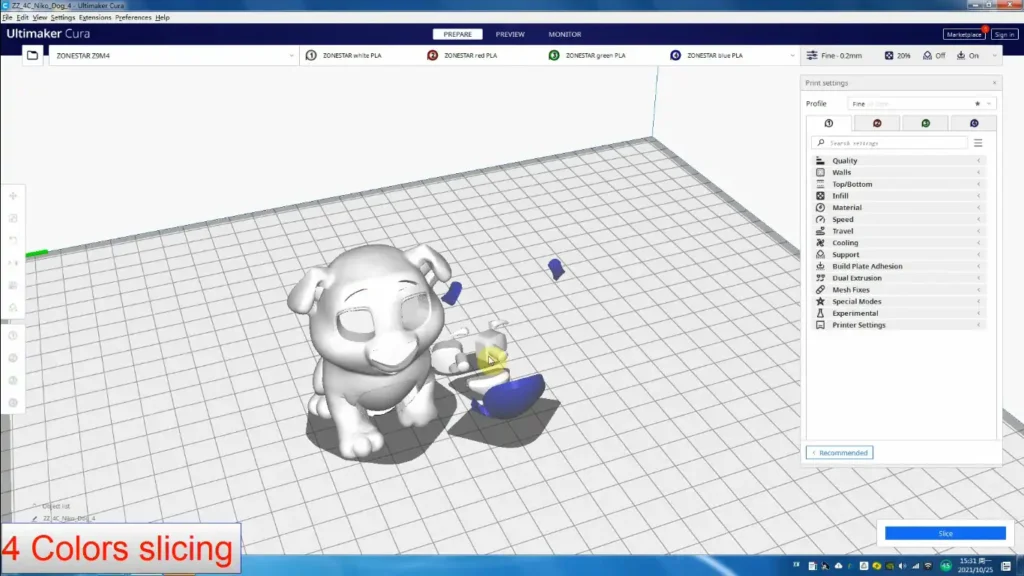
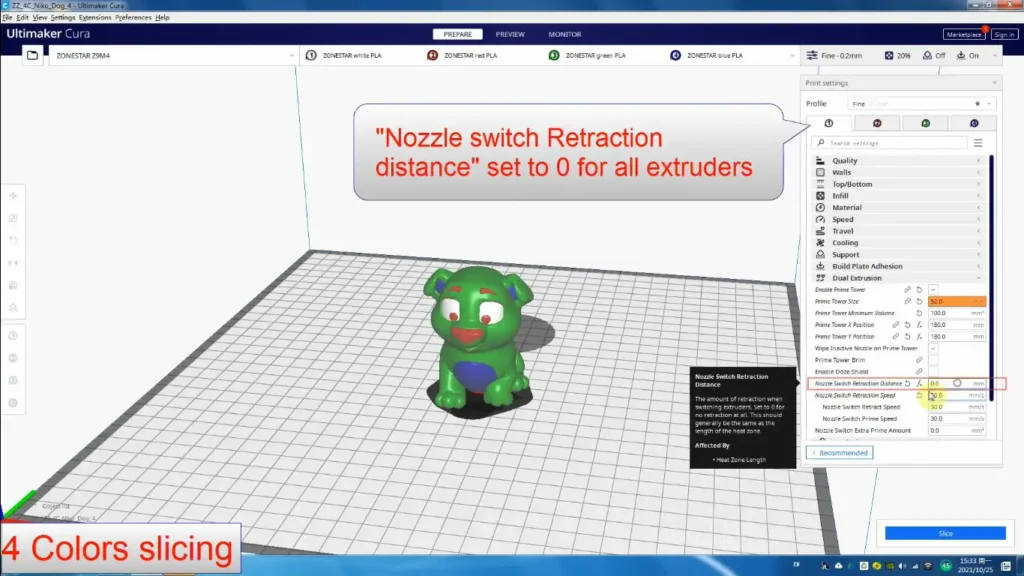
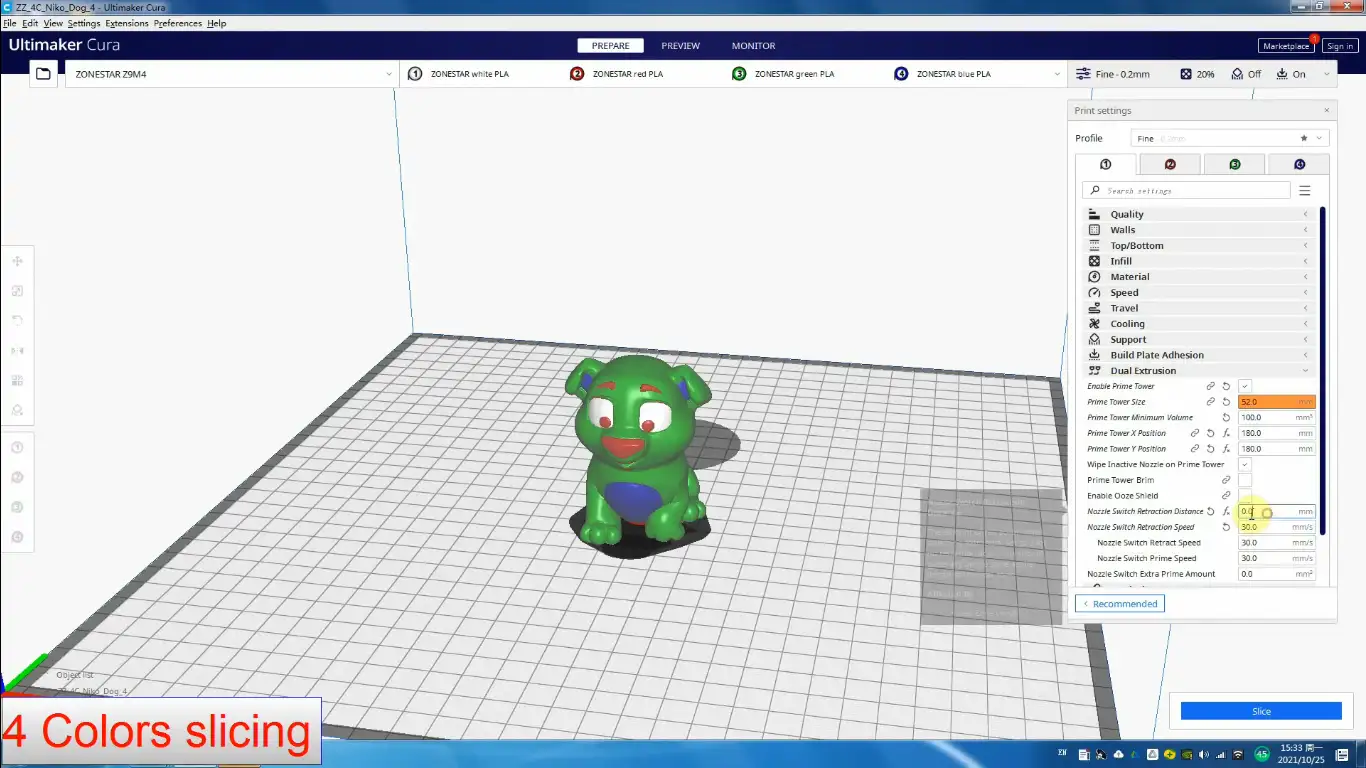
Alright 3D printing enthusiasts, the time has come for me to rant about my scavenger hunt of a search during which I will tell you all about how I went looking for Zonestar code on Ultimaker Cura. Just kidding — I didn’t find it. It’s like trying to find a working time machine.
Let’s be honest: Zonestar isn’t a specific 3D printer model, it’s a brand. Zonestar makes a ton of different 3D printers! It’s like they’re running a whole zoo of them.
Now, Ultimaker Cura? That’s our trusty slicing software, the digital alchemist that turns our 3D dreams into printable reality. Cura needs specific settings to work with each printer. Without the right settings, it’s useless.

So, what’s a Zonestar owner to do? Well, buckle up buttercup, because you’re in for a wild ride of custom profile creation. It’s time to channel your inner MacGyver and whip up a profile faster than you can say “layer adhesion issues.”
You’ll need to gather all sorts of juicy details about your Zonestar baby:
- Nozzle size (because size matters in the 3D printing world)
- Bed size (gotta know your printer’s personal space)
- Stepper motor steps per mm (it’s not a dance move, I promise)
- Extrusion multiplier (for when your printer needs a math lesson)
- Start/end G-code (the secret handshake of 3D printing)
Now, if the thought of creating a profile from scratch makes you want to use your printer as a very expensive paperweight, fear not! The 3D printing community is like that neighbor who always has the right tool – there might be some community-created profiles floating around online. Just remember, these profiles are more of a starting point than a magic bullet. You’ll still need to tweak them to match your printer’s unique… let’s call it “personality.”
For the brave souls ready to embark on the custom profile journey, here’s a quick roadmap:
- Raid your printer manual like it’s the last slice of pizza at a party.
- In Cura, add a new custom FFF printer (it’s like adopting a digital pet).
- Input all those juicy specs you gathered.
- Prepare for the fine-tuning phase (AKA the “why won’t this darn thing print right” phase).
Remember, creating the perfect profile is more marathon than sprint. It’ll take some trial and error, maybe a few choice words, and possibly a ritualistic dance around your printer. But hey, that’s half the fun of 3D printing, right? …Right?

If you thought that wasn’t weird enough, here’s a poop chute. Yes, you read that right. Then some brilliant person came up with the idea of when you finish purging your filament onto bed, as always, it should suddenly drop all over table or floor. Because who doesn’t want a trail of plastic droppings leading to their printer?
So whether you’re battling reversed motor directions, trying to wrangle multiple extruders, or just wondering why your Z9M4 isn’t showing up in Cura’s list (spoiler: Cura’s team probably doesn’t even know it exists), remember – you’re not alone in this plastic-melting madness.
Now go forth, brave filament warrior, and conquer that Zonestar-Cura combo. And in the end, turning it off and on again of course. May the bed adhesion be ever in your favor!
FAQs
How do I generate G-code in Cura?
Breathe easy, my friend. It’s simpler than explaining why your print failed at 99%. You just slice your file in Cura and hit save. Boom! You’ve got yourself some G-code. It’s like magic, but with more plastic and less rabbits in hats. Pro tip: Ultimaker Original, 2, 2+, and 3 series printers work directly with these G-code files. They’re not picky eaters.
How do I add codes to Cura?
No secret handshake required, but you might want to don your “serious coder” glasses for this one. Here’s the deal:
1. In Cura, go to Help > Show Configuration Folder. (It’s like finding the secret level in a video game)
2. Navigate to the scripts subfolder. (You’re almost at the treasure chest!)
3. Drop the .py file from the zip file into that folder. (X marks the spot!)
4. Restart Cura. (Because even software needs a power nap sometimes)
5. Go to Extensions > Post Processing > Modify G-Code.
6. Click the “Add a script” button. (It’s not a self-destruct button, I promise)
7. Select “Deleted Added Temperature” from the list. (Why? Because Cura said so)
What’s this AG code I keep hearing about in 3D printing?
Forget about “AG code”. It’s a myth in the 3D printing world. The real boss is G-code. Think of it as the secret language that tells your 3D printer what to do. It’s been around forever and every printer understands it. This code is made up of letters and numbers that control your printer’s every move. Think of it as the secret language your printer uses to turn your digital dreams into plastic reality.
What generates G-code?
While a G-code fairy would be awesome (and probably covered in plastic dust), the real hero here is software like DraftSight’s G-Code Generator. This clever tool translates your 2D designs into G-code, the language CNC machines understand. It’s like having a special interpreter for your drawings, making it easy for machines to follow your plans.
Can you import G-code into Cura?
Yes, you absolutely can import G-code into Cura. It’s like bringing your own snacks to a party – totally allowed. But here’s the catch: once you’ve imported that G-code, you can’t change settings or reslice the model. Why? The model isn’t present in the G-code file itself. It would be kind of like reverse engineering a cake from the recipe alone — you could do it, but why bother?
Nestor Sawayn is a U.S.-based tech journalist specializing in maker tools and creative technologies. His coverage spans 3D printers, vinyl cutters, paper printers, and laser cutters across North America, Europe, and Asia. Sawen’s articles offer concise, insightful analysis of the latest News, innovations in this space. Beyond hardware, he explores the creative potential of board games and tabletop RPGs, providing readers with a comprehensive view of both digital and analog maker trends.
Feel free to reach out to me at nestorsawayn@360techinsights.com.


