Believe me, I know what it’s like to look at some ugly blob of plastic instead your beautiful 3D print. I know, I have been there too and trust me it is frustrating. Fear not! Through countless hours of experimentation, I’ve developed a list of proven methods to ensure your filament sticks securely. Let’s dive in.
1. Clean That Bed, Seriously
First things first, folks. A clean bed is a happy bed. How many times did I think my printer was possessed and it only needed a good scrub? Here’s what works for me:
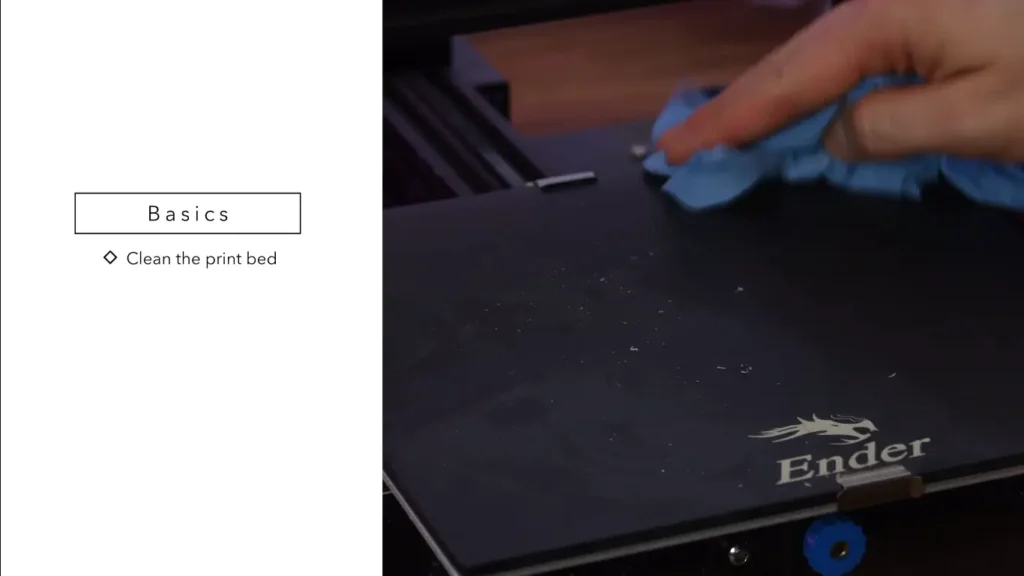
- For a quick clean: Take a lint free cloth and isopropyl alcohol. Wipe off that bed. Trust me, you’ll be amazed at what comes off.
- For the tough stuff: If isopropyl doesn’t work, I start soaping it out using Dawn dish soap in warm water. Hard work never hurt anybody. A follow up with an alcohol wipe will easily take care of any soap left behind.
Pro tip: Avoid using paper towels or toilet paper. They might seem convenient, but they can leave behind tiny fibers that’ll mess with your print adhesion.
2. Level That Bed Like a Pro
Just as a house won’t stand on a slope, a bed won’t be comfortable if it’s uneven. Here’s how I tackle leveling:
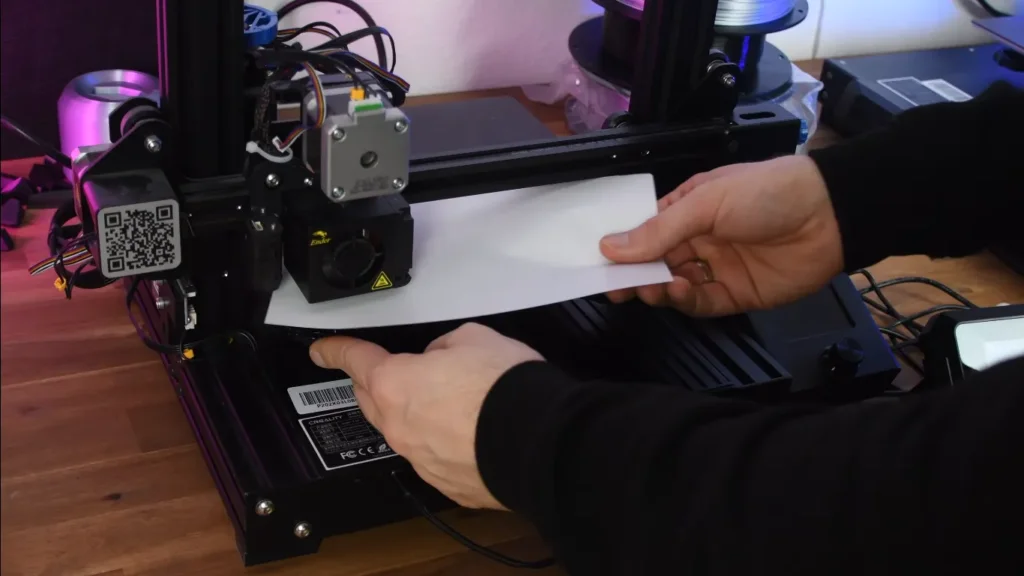
- Use auto-leveling if you have it It is there for a reason and it is the future.
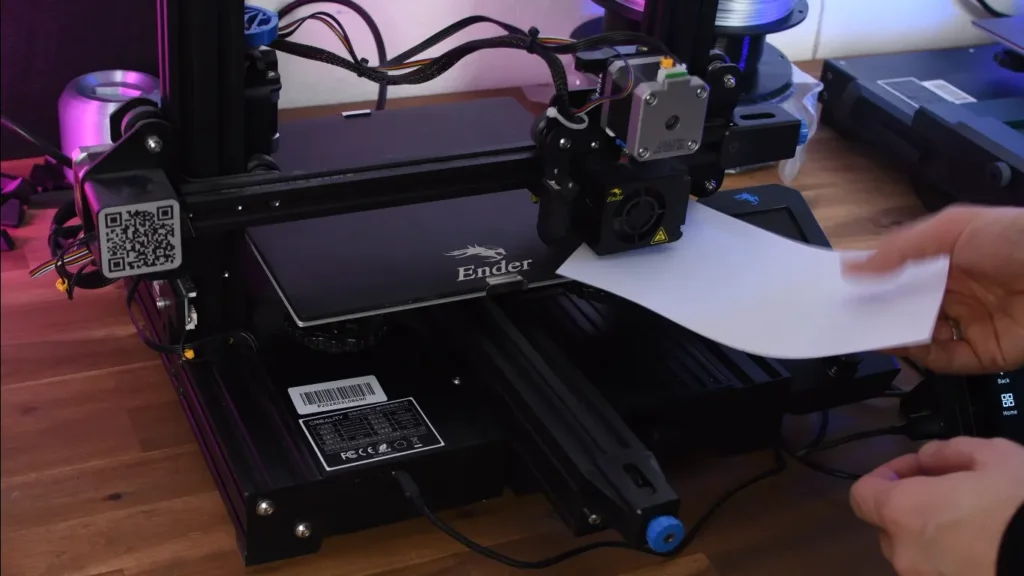
- For manual leveling, the trusty paper method is still my go-to. Slide a piece of paper under the nozzle and adjust until you feel a slight resistance. It’s not high-tech, but it works.
3. Stick It to ‘Em (With Adhesives)
It may need a little extra helping at moments your bed. I have tried just about every adhesive out there, and this is what I know:
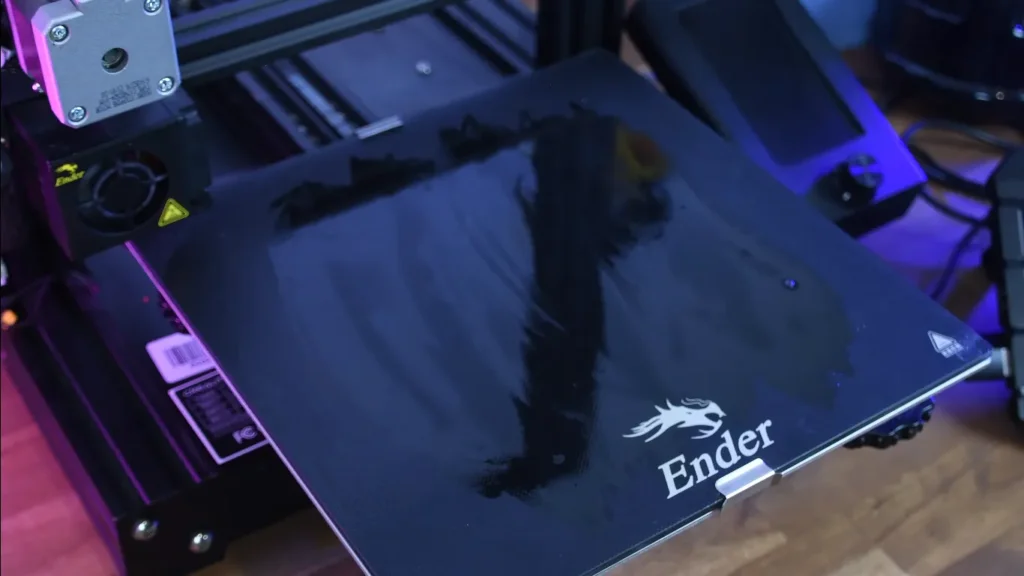
- Glue sticks are my secret weapon. The Elegoo BL build platform glue stick is my current favorite. A thin, even layer does wonders.
- Blue painter’s tape is great for smaller build plates or if you’re printing on glass. It’s easy to apply and remove, and your prints will pop right off.
4. Tweak Those Settings
If you’re still having trouble, it’s time to dive into your slicer settings. Here are some adjustments that have saved my prints:
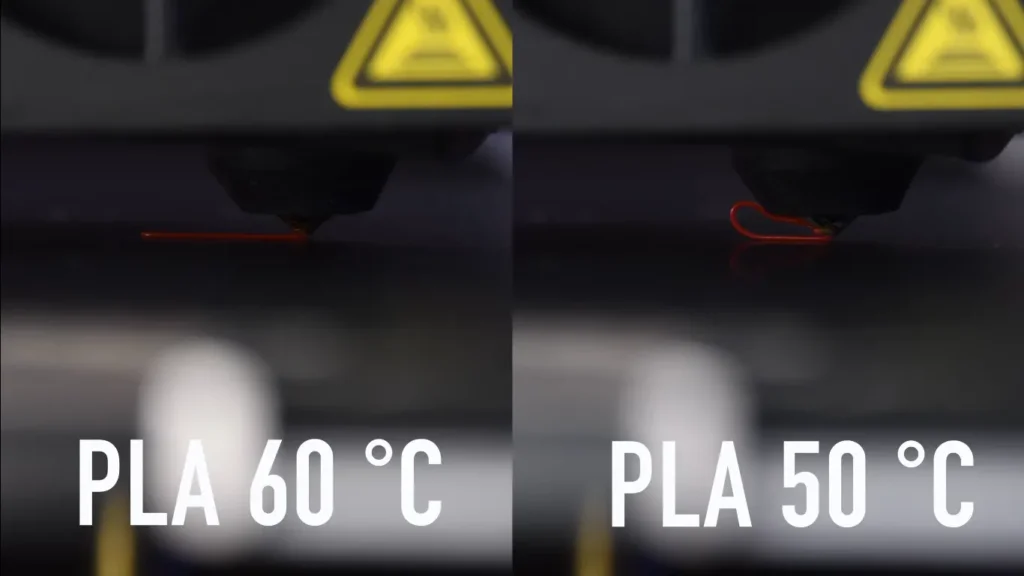
- Bump up that bed temperature. I usually start at 60°C and increase in 5°C increments. Just watch out for the dreaded “elephant’s foot” if you go too hot.
- Slow down, speed racer! For the first layer, I often drop the speed to 15-20 mm/s. It takes a bit longer, but the improved adhesion is worth it.
- Add some insurance with a brim or raft. It’s like giving your print training wheels.
5. The Z-Offset Dance
Getting the perfect Z-offset is like finding the sweet spot on a guitar string. Too high, and your filament won’t stick. Too low, and you’ll scratch your bed (been there, done that). I usually start with the paper method, then make tiny adjustments during the first layer print until it’s just right.
6. First Layer TLC
Your first layer needs some extra love. Here’s what I do:
- Turn off that cooling fan for the first layer. Let that filament get nice and cozy with the bed.
- Print thicker lines for the first layer. I usually go for about 150% of my normal line width. More plastic means better adhesion.
7. Surface Matters
If that fails, then the bed may need upgrading. I have recently started using a PEI-coated spring steel bed, and man does this make life so much easier. They are sticky when hot and pop off like magic once cold. Plus, you can flex the plate to remove stubborn prints. It’s like magic!
8. The Nuclear Option
Okay, so you’ve tried everything, and your prints are still doing the cha-cha off the bed. Time for some unconventional wisdom:
- The salt/sugar solution: I was skeptical, but desperate times call for desperate measures. A thin layer of salt or sugar water on the bed can create a crystalline surface that grabs onto your filament. Just be prepared for some serious cleanup afterward.
- Mouse ears and rafts: These little additions can increase the surface area of your print’s base, giving it more to hold onto. Most slicers have options for these, so give them a shot if you’re out of ideas.
After all, 3D printing is equal parts art and science. If you know whats best for one printer or filament, it may not be the same case in another. You can try, fail and you’ll only learn what’s the best for yourself. Worst case scenario you end up with some cool plastic statues or something right?
Happy printing, folks. May your beds be sticky and your prints be perfect!
FAQs
Why is my 3D filament not sticking to the bed?
Unleveled beds, inappropriate nozzle heights, unsuitable bed temperatures, filthy or damaged bed surfaces & utilizing the incorrect surface for your filament type are all typical reasons. Ensure your bed is clean, level, and at the right temperature for your filament.
How do you get PLA to stick to bed better?
A thin layer of glue stick or hairspray can be used, painter’s tape can be used, the bed should be level and clean, and the temperature should be between 50 and 60°C to improve PLA adhesion. Slowing down the first layer print speed can also help significantly.
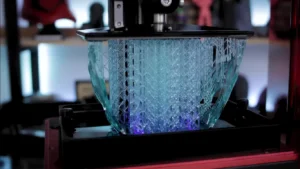
Why is my 3D print not sticking to the bed resin?
Adhesion problems with resin prints may arise from a dirty build plate or from resin residue that has solidified. Insufficient exposure time for initial layers or poorly mixed resin can also cause problems. Ensure your resin is well-mixed and try increasing exposure time for the first few layers.
How do I make my 3D prints stick?
To improve print adhesion, ensure your bed is level and clean, use the correct bed temperature for your filament, apply an adhesion aid (like glue stick or hairspray), slow down your first layer speed, and adjust your nozzle height. For stubborn materials, consider using a specialized build surface.
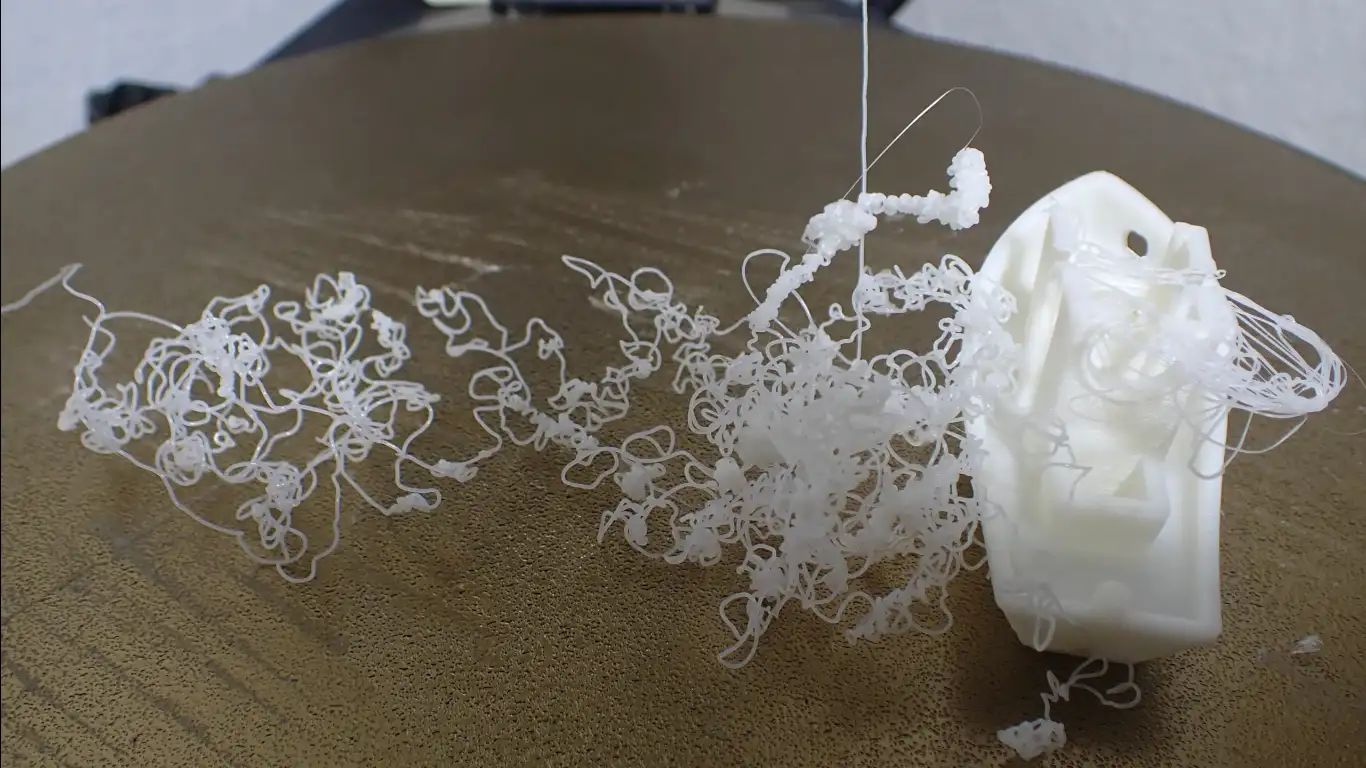
Why is my 3D print stringing and not sticking?
Adhesion problems are frequently related to temperature, surface preparation, or improper bed leveling, whereas stringing is typically due by excessive temperatures or insufficient retraction settings. Address stringing by adjusting retraction and temperature, and focus on bed preparation and first layer settings for adhesion problems.
# 3D printer filament not sticking to bed
Nestor Sawayn is a U.S.-based tech journalist specializing in maker tools and creative technologies. His coverage spans 3D printers, vinyl cutters, paper printers, and laser cutters across North America, Europe, and Asia. Sawen’s articles offer concise, insightful analysis of the latest News, innovations in this space. Beyond hardware, he explores the creative potential of board games and tabletop RPGs, providing readers with a comprehensive view of both digital and analog maker trends.
Feel free to reach out to me at nestorsawayn@360techinsights.com.